To achieve a smooth, even finish on your woodworking projects, you must know how to use a random orbital sander correctly to achieve professional-looking results.
In this guide on how to use a random Orbital Sander, we will cover all the basics of using an orbital sander, including the proper techniques, safety precautions, and tips to help you achieve a flawless finish on your projects. So, let’s dive in and learn how to use a random orbital sander like a pro!
Key Takeaways:
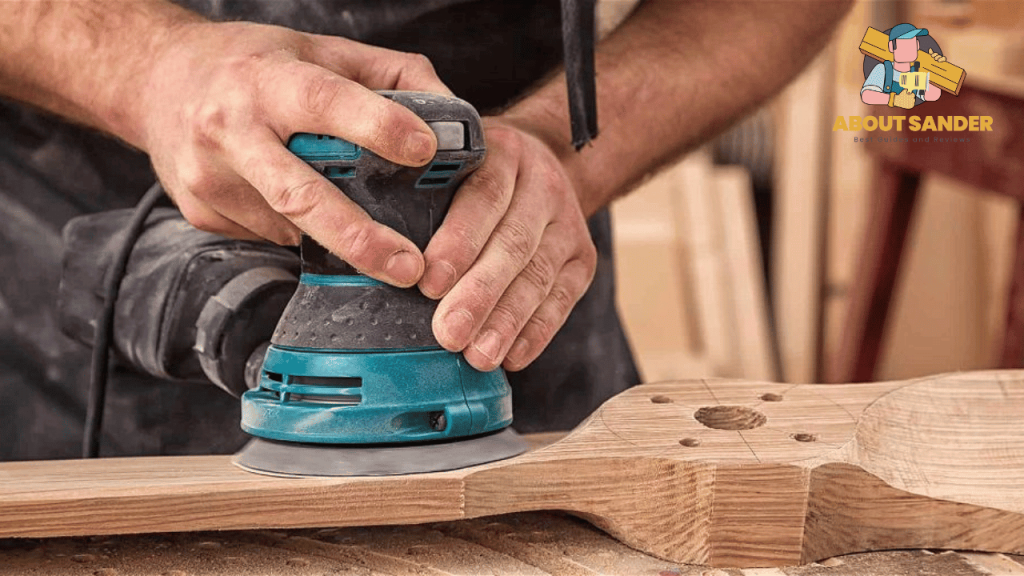
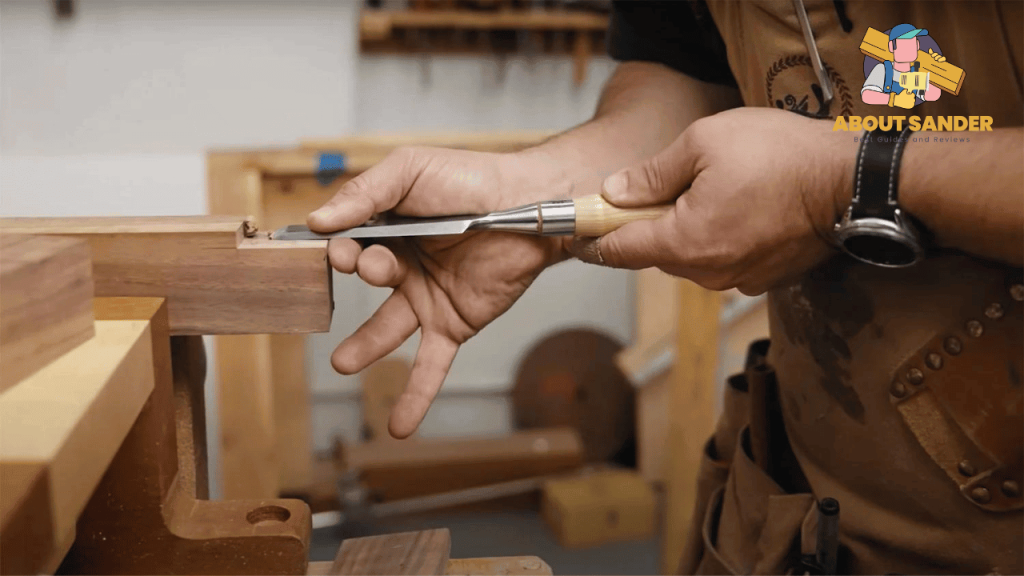
- An orbital sander is a powerful tool that can significantly improve the efficiency and quality of your woodworking projects.
- You should follow the proper techniques and safety precautions to use an orbital sander effectively.
- Changing the sandpaper regularly is essential to maintain the sander’s effectiveness.
- You should be mindful of the surface you’re sanding and use the appropriate sandpaper grit.
- Cleaning your orbital sander regularly can help prolong its life and maintain optimal performance.
- With the right tips and tricks, you can use an orbital sander to achieve smooth and even surfaces in a fraction of the time it would take to sand by hand.
6 Steps of Using an Orbital Sander:

Using an orbital sander may seem daunting initially, but with the proper techniques and safety precautions, it can be an easy and enjoyable tool for your woodworking projects.
Step 1: Prepare Your Workpiece
Before sanding with an orbital sander, you must prepare your workpiece. Clean the surface with a damp cloth to remove dirt or dust. Then, check for any defects or cracks that need repairing.
Step 2: Choose the Right Sandpaper Grit
The grit of your sandpaper is essential in achieving the desired finish. Choose the grit based on the coarseness or fineness needed for the project. For instance, a coarse grit of 40-60 is ideal for removing paint, while a fine grit of 120-150 is excellent for finishing.
Step 3: Attach the Sandpaper to the Orbital Sander
Once you have the proper sandpaper, it’s time to attach it to the orbital sander. Start by turning off the sander and unplugging it from the power source. Then, loosen the clamps and remove the old sandpaper. After that, attach the new sandpaper to the sander’s base, ensuring it’s secure and centred.
Step 4: Turn on the Orbital Sander
Now that you’ve attached the sandpaper, it’s time to turn on the sander. Hold the sander firmly with both hands and turn it on. Let the sander reach full speed before you start sanding.
Step 5: Sand Your Workpiece
Start sanding your workpiece by moving the sander back and forth over the surface. Keep the sander flat and apply even pressure as you sand. Avoid pressing too hard, which can cause the sander to leave swirl marks on the surface. Move the sander in a circular motion around the edges to avoid damaging them.
Step 6: Finish and Clean Up
After sanding, please turn off the orbital sander and unplug it. Remove the sandpaper and clean the sander’s base with a brush or a vacuum. Also, clean your workpiece with a clean cloth to remove debris or dust particles.
- Lorem ipsum dolor sit amet, consectetur adipiscing elit.
- Cras ultricies nisi quis augue elementum elementum.
- Nam commodo orci sed metus commodo, ut placerat sapien congue.
- Donec id quam fringilla, blandit eros a, ornare nisl.
- Aenean interdum odio ut neque vestibulum, quis sollicitudin felis mattis.
Using an orbital sander may seem challenging initially, but with these six simple steps, you can achieve a smooth and even finish on your woodworking projects. Always follow safety precautions and choose the correct sandpaper grit to achieve the desired finish. You can become a pro at using an orbital sander with practice and patience.
| Uses of Orbital Sander | Pros | Cons |
| Smoothing surfaces | Efficient for large surfaces | It can create swirl marks if not used correctly |
| Removing paint | Quick and efficient | It can be aggressive and damage underlying wood |
| Polishing surfaces | It creates a smooth, glossy finish | It may require multiple steps to achieve desired results |
| Sanding curved surfaces | Versatile for various shapes | It can be challenging to control on curved surfaces |
| Preparing surfaces | Removes imperfections and stains | It can create dust and require proper ventilation |
6 Uses of an Orbital Sander:
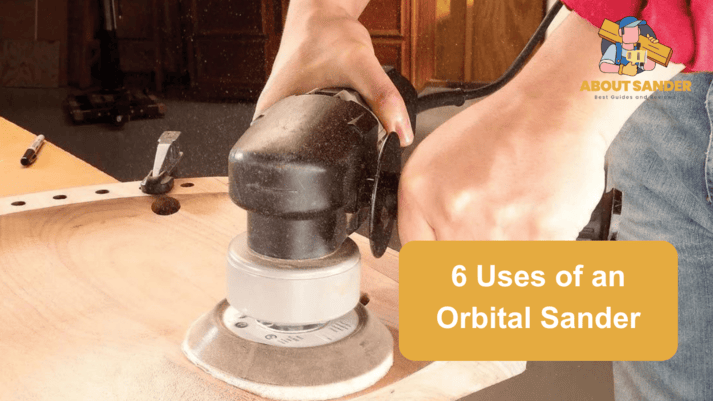
An orbital sander is a versatile tool used in various woodworking applications. Its ability to sand surfaces in a circular motion makes it a popular choice for many woodworkers. In this guide on “Using Orbital Sander (How to Use a random Orbital Sander)”, we will explore six different uses of an orbital sander so that you can get the most out of this powerful tool.
1: Sanding Large Surface Areas
One of the primary uses of an orbital sander is for sanding large surface areas. The tool’s circular motion allows you to cover much ground quickly and efficiently. This makes it perfect for sanding large furniture pieces or countertops, where a smooth and even finish is essential.
2: Removing Paint and Varnish
Another everyday use of an orbital sander is removing paint or varnish from wood surfaces. A coarse grit sandpaper can quickly remove layers of paint or varnish, allowing you to refinish the wood underneath. However, be sure to follow safety precautions, such as wearing a respirator mask and protective goggles, as the dust produced can be harmful.
3: Smoothing Edges and Corners
Orbital sanders can also smooth the edges and corners of wood pieces. The circular motion of the sander allows you to sand curved or angled edges with ease. This makes it a popular choice for grinding tabletops or rounded-ed chairs.
4: Sanding Wood Floors
Orbital sanders can also sand wood floors. The tool’s ability to sand in a circular motion can help you achieve a smooth and even finish on your hardwood floors. However, use the appropriate grit sandpaper for your flooring type and follow safety precautions, such as wearing a dust mask and hearing protection.
5: Sanding Drywall
In addition to wood surfaces, orbital sanders can also be used for sanding drywall. Fine-grit sandpaper can quickly smooth out any imperfections in the drywall, allowing for a professional-looking finish. However, wear protective gear, such as a dust mask and goggles, as drywall dust can be harmful.
6: Sanding Metal
Lastly, orbital sanders can sand metal surfaces, such as rusted or corroded. A coarse grit sandpaper can quickly remove rust or paint from metal surfaces, allowing you to refinish the metal underneath. However, follow safety precautions, such as wearing protective gloves and eyewear, as metal shavings can be sharp and dangerous.
8 Parts of the Orbital Sander:

An orbital sander is a powerful tool that can help you achieve a smooth and even finish on your woodworking projects. Understanding the various parts of an orbital sander is essential for proper use and maintenance. In this guide on “Using Orbital Sander (How to Use a random Orbital Sander)”, we will explore eight different parts of an orbital sander so that you can get the most out of this versatile tool.
1: Motor
The motor is the heart of an orbital sander. It powers the tool and provides the necessary force to sand your project. A high-quality motor is essential for efficient and effective sanding.
2: Sanding Disc
The sanding disc is the round pad that attaches to the orbital sander. It comes in various sizes and grits and can be changed depending on the project. The disc should be firmly attached to the sander to ensure safe and effective sanding.
3: Dust Collection System
An orbital sander with a dust collection system is an essential feature. The system helps to collect dust and debris produced during sanding, keeping your workspace clean and reducing the risk of respiratory problems.
4: On/Off Switch
The on/off switch is located on the sander’s handle and controls the motor’s power. It is essential to ensure that the button functions correctly and that you can easily access it while using the sander.
5: Variable Speed Control
Variable speed control allows you to adjust the speed of the sander to match the needs of your project. Slower speeds are better for delicate sanding, while higher rates are more effective for rough sanding.
6: Handle
The handle is part of the sander you hold onto while sanding. It should be comfortable to grip and easy to control. A well-designed handle can help reduce fatigue and improve overall sanding performance.
7: Brake
The brake is a safety feature that helps to stop the sanding disc from spinning quickly after the power is turned off. This prevents accidents and keeps the sander in good working order.
8: The pad
It release lever releases the sanding disc from the sander. This allows you to change the disc for a different grit or size, making it a versatile tool for various sanding applications.
10 Tips and Tricks for Using an Orbital Sander:

An orbital sander is a versatile tool that can help you achieve a smooth and even finish on your woodworking projects. However, using an orbital sander effectively requires some skill and knowledge. In this guide on “Using Orbital Sander (How to Use a random Orbital Sander)”, we will explore ten tips and tricks to help you get the most out of your sander and achieve professional-looking results.
1: Choose the Right Grit
Choosing the correct grit for your sanding disc is crucial to achieving the desired finish. A coarser grit is best for rough sanding, while a finer grit is ideal for a smoother finish. Experiment with different grits to find the best one for your project.
2: Keep the Sander Moving
Moving the sander in a circular or back-and-forth motion while sanding will help prevent uneven spots or gouges in your workpiece. Be sure to keep the sander moving at a consistent speed.
3: Start with Coarser Grits
Starting with a coarser grit and gradually working to finer grits will ensure a smooth and even finish. This is especially important when sanding a rough or uneven surface.
4: Sand in Stages
Sanding in stages, starting with coarse grit and working your way up to a finer grit, will help achieve a more even finish. Clean the surface between each stage to avoid scratches or debris.
5: Use Proper Pressure
Too much pressure while sanding can result in uneven spots or damage your workpiece. Use a light touch and let the sander do the work.
6: Use Proper Technique on the Edges
Sanding edges can be tricky. Using a light touch and moving the sander in a circular motion can help achieve an even finish without rounding the edges.
7: Keep the Sander Flat
Keeping the sander flat on the workpiece while sanding will help achieve an even finish. Tilt the sander at an angle can result in uneven spots or gouges.
8: Check the Sanding Disc
Be sure to check the sanding disc periodically for wear or damage. A worn or damaged disc can result in an uneven finish or even damage your sander.
9: Clean the Sander Regularly
Regular cleaning of your sander, especially the dust collection system, can help ensure efficient and effective sanding. A clogged dust collection system can reduce the effectiveness of the sander and create a messy workspace.
10: Practice, Practice, Practice
Using an orbital sander effectively takes practice. Start with small projects and work your way up to larger ones. With time and practice, you will become more comfortable and confident with your sander, producing professional-looking finishes.
What are the things you should avoid using an orbital sander?

An orbital sander is a powerful tool that can help you achieve a smooth and even finish on your woodworking projects. However, using an orbital sander can be tricky, and there are several things you should avoid to ensure safety and achieve the best results. In this guide on “Using Orbital Sander (How to Use a Random Orbital Sander)”, we will share five things to avoid while using an orbital sander.
1: Using Excessive Force
Using excessive force is a common mistake people make while using an orbital sander. Applying too much pressure can cause the sander to leave unwanted marks and uneven surfaces. To avoid this, gently pressure and let the sander do the work.
2: Sanding in One Spot for Too Long
Sanding in one spot for too long can cause uneven surfaces and damage the wood. Instead, keep the sander moving in a circular or back-and-forth motion. This will help you achieve a smooth and even finish without damaging the surface.
3: Using the Wrong Grit Sandpaper
Using the wrong grit sandpaper is a common mistake leading to poor results. Choose the right grit sandpaper for your project and change the sandpaper as needed. Coarse grits are ideal for removing rough material, while fine grits are better for finishing touches.
4: Not Wearing Safety Gear
Not wearing safety gear is a dangerous mistake that can lead to severe injuries. Always wear eye and ear protection and a dust mask to protect your lungs. This will help you stay safe while using an orbital sander.
5: Neglecting to Clean the Surface
Neglecting to clean the surface before sanding can cause unwanted debris and particles to get stuck in the sandpaper, causing it to wear out quickly. Use a dust collection system or vacuum to keep the surface clean and debris-free. This will help you achieve better results and prolong the life of your sanding disc.
FAQs
How Do I Know When to Change the Sandpaper on My Orbital Sander?
Regularly changing the sandpaper on your orbital sander is essential to maintain the best results. Changing the sandpaper when it feels dull or loses effectiveness is a good rule of thumb. You may also need to change the sandpaper when you switch to a different grit.
Can I Use an Orbital Sander on Metal or Plastic Surfaces?
Orbital sanders are primarily designed for wood surfaces, but some models can also be used on metal or plastic surfaces. However, it would help if you used the appropriate sandpaper grit and did not apply too much pressure, as this can damage the surface.
How Do I Clean My Orbital Sander?
Cleaning your orbital sander regularly can help prolong its life and maintain optimal performance. You can use a soft brush or cloth to clean the sanding disc and housing and a vacuum or dust collection system to remove dust and debris from the surface.
What are the 3 most crucial sander safety rules?
1. Wear appropriate protective gear.
- Ensure proper ventilation in the work area.
- Use a secure grip and maintain control of the sander.
What is the golden rule of sanding?
The golden rule of sanding is to always sand with the grain of the wood.
Conclusion
In conclusion, using an orbital sander can significantly improve the efficiency and quality of your woodworking projects. With the proper techniques and precautions, you can achieve smooth and even surfaces in a fraction of the time it would take to sand by hand. Remember always to wear appropriate safety gear.

Why Trust About Sanders?
When it comes to the world of sanding and sanders, you need a trusted source of information and guidance to ensure you achieve those perfect finishes. That's where I come in – I'm Martin, a dedicated sanding enthusiast with a relentless passion for attaining flawless surfaces. With years of hands-on experience in the sanding industry, I've honed my skills and expertise to provide you with the most reliable and accurate insights. What sets me apart is my commitment to excellence. I meticulously handpick each sander after rigorous testing, ensuring that only the best tools make it to your hands. My goal is to empower you with the knowledge and recommendations you need to tackle any sanding task confidently. When you trust About Sanders, you're putting your faith in a seasoned expert who shares your passion for perfection and strives to deliver top-notch information and reviews for every sanding challenge.
