Orbital sanders are essential for smooth and polished surfaces in woodworking and DIY projects. However, there are some orbital sander issues that may hinder its performance.
That’s where orbital sander troubleshooting comes into play. This guide will explore common problems with orbital sanders and provide practical solutions to get your sander back in action.
Key Takeaways:
- Troubleshooting an orbital sander that stops when pressure is applied: Avoid excessive force, and check for worn or damaged sanding pads.
- , inspect the condition of the brushes, and seek professional assistance if needed.
- Preventing sandpaper from clogging up: Use the appropriate grit for the task, clean the sanding surface regularly during sanding, and consider using sandpaper with anti-clogging features.
- Cleaning the dust collection system: Empty the collection bag or canister after each use, clean the collection ports, and ensure proper airflow for effective dust extraction.
- Lubricating moving parts: Follow the manufacturer’s instructions to lubricate designated points to reduce friction and ensure smooth operation.
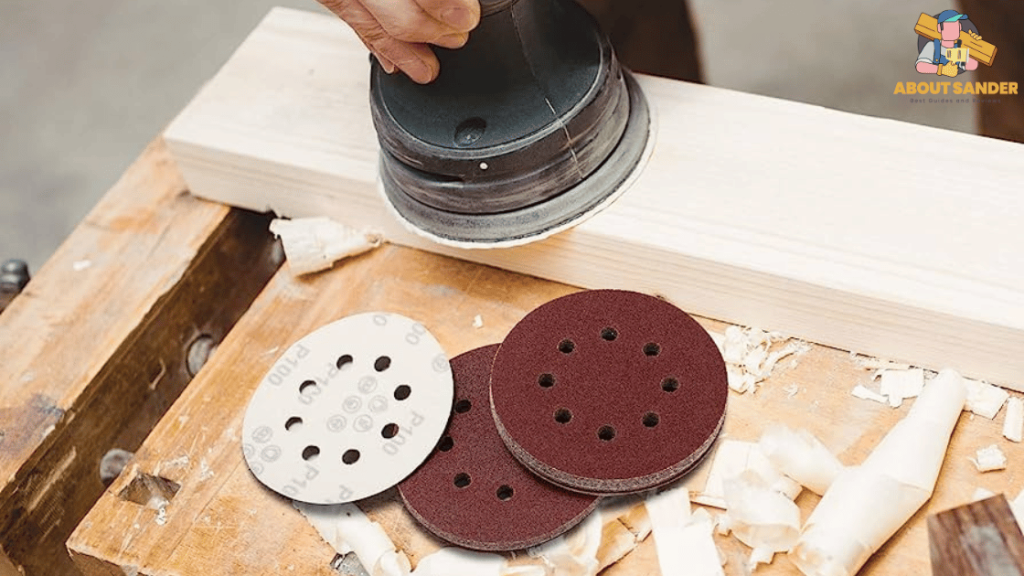
- Using the correct sandpaper: Always use sandpaper designed for orbital sanders to ensure proper fit and dust extraction.
8 Common Orbital sander issues

As an expert in woodworking and DIY projects, I understand the frustration that can arise when your orbital sander encounters issues. Orbital sander troubleshooting is a crucial skill that every woodworker should possess to ensure smooth and efficient sanding operations.
This comprehensive guide will address eight common orbital sander troubleshooting issues and provide expert solutions to overcome them. From understanding why your orbital sander stops when pressure is applied to learning how to prevent sandpaper from clogging up, we will cover a range of problems to help you achieve optimal sanding results.
1: Orbital Sander Stops When Pressure is Applied:
One common issue that woodworkers encounter during sanding is the orbital sander stopping unexpectedly when pressure is applied. This problem can occur due to a few reasons. First, check if the power cord is connected correctly and not damaged.
The problem might be with the motor if the power supply is stable. Overheating or worn-out brushes can cause the sander to stop. Replacing the brushes or consulting a professional repair service is recommended in such cases.
2: Sanding Pad Wears Out Quickly:
Excessive wear and tear on the sanding pad can be a frustrating problem. If you notice that your orbital sander’s pad is wearing out quickly, it could be due to several reasons. Firstly, check the sandpaper you are using. Low-quality or incompatible sandpaper can prevent the pad from deteriorating faster.
Secondly, improper sanding techniques, such as applying excessive pressure or sanding at the wrong angle, can also contribute to premature wear. Ensure you are using the appropriate sandpaper and adopting the correct sanding technique to extend the lifespan of your sanding pad.
3: Sandpaper Clogging Up:
Sandpaper clogging up is another common issue that hampers the effectiveness of an orbital sander. When sandpaper gets clogged, it becomes less efficient and requires frequent replacement.
Additionally, consider using sandpaper with anti-clogging properties or applying a lubricant specifically designed for sanding to reduce friction and debris buildup. Regularly cleaning the sandpaper or using a sanding block can also help prevent clogging.
4: Excessive Vibration:
Experiencing excessive vibration while using an orbital sander can affect both the quality of your work and your comfort. If your sander is vibrating excessively, it may be due to an unbalanced sanding pad or a worn-out bearing. Inspect the sanding pad for any visible damage or irregularities. If necessary, replace the sanding pad with a balanced one. Considering worn-out bearings, consult a technician to diagnose and repair the issue.
5: Uneven Sanding Results:
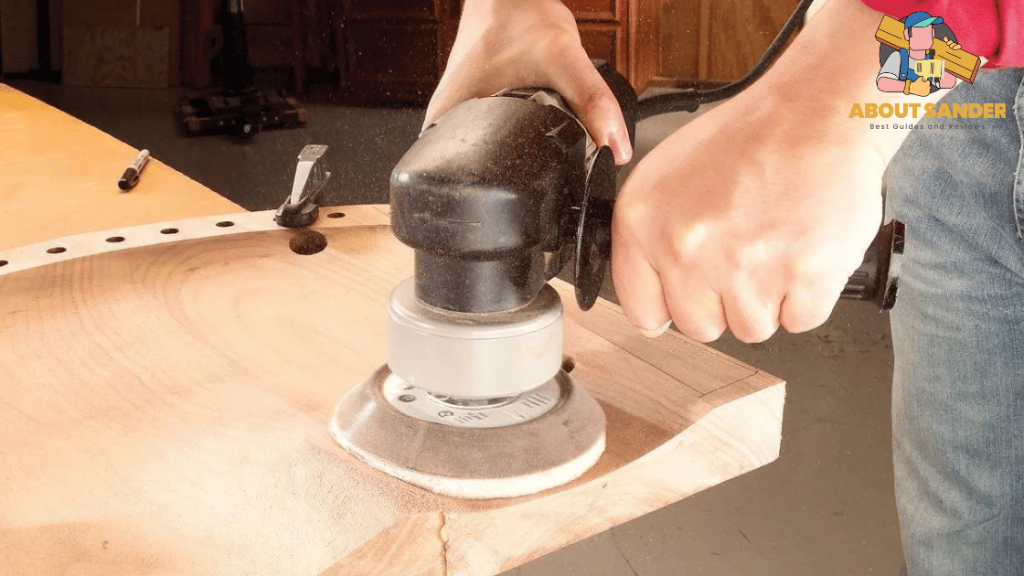
Achieving smooth and even sanding results is essential for a professional finish. If you notice that your orbital sander is leaving behind uneven sanding marks, several factors could contribute to the problem. One possibility is uneven pressure distribution while standing. Ensure you apply consistent pressure and proper sanding techniques, such as a steady back-and-forth motion.
6: Excessive Noise:
Unusual or excessive noise from your orbital sander can be bothersome and indicate an underlying issue. Firstly, check if the sanding pad is attached correctly and not loose. Loose parts can cause vibrations and noise. If the noise persists, it could be due to a malfunctioning motor or a damaged internal component. In such cases, it is advisable to seek professional assistance to diagnose and repair the problem.
7: Sander Overheating:
If your orbital sander starts to overheat during use, it’s essential to address the issue promptly to prevent damage to the tool. Overheating can occur for various reasons, such as prolonged and intense sanding sessions or inadequate ventilation around the motor. To troubleshoot this problem, take regular breaks during extended sanding sessions to allow the sander to cool down.
8: Loss of Power:
Experiencing a sudden loss of power in your orbital sander can significantly hinder your sanding progress. This issue can stem from multiple factors, including a faulty power cord, a worn-out switch, or a malfunctioning motor. Begin by checking the power cord for any visible damage or loose connections.
Orbital sander troubleshooting is a valuable skill that allows woodworkers to overcome common issues and ensure optimal sanding results. By addressing problems such as the orbital sander stopping when pressure is applied and preventing sandpaper from clogging up, you can enhance the efficiency and longevity of your orbital sander.
Here are 8 Orbital sander troubleshooting solutions:
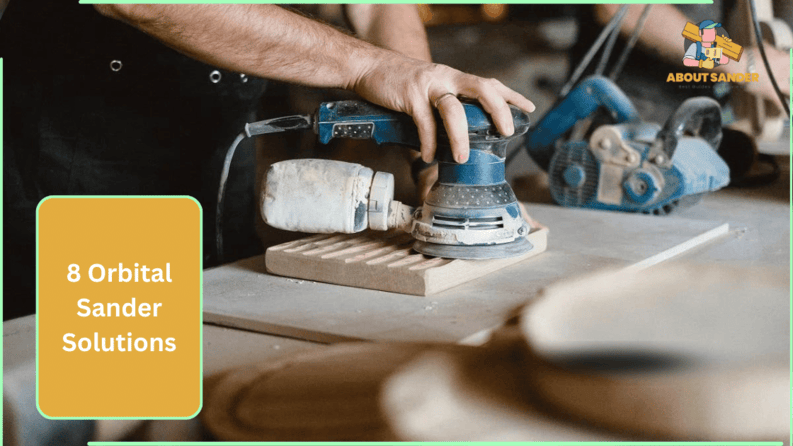
As an expert in woodworking and DIY projects, I understand the importance of troubleshooting common issues with orbital sanders. Orbital sander troubleshooting techniques are essential for maintaining the performance and efficiency of your tool. This comprehensive guide will explore eight effective solutions for common orbital sander problems.
1: Adjusting the Pressure:
If your orbital sander stops when applying pressure, it may indicate excessive force on the sanding surface. To troubleshoot this problem, try adjusting the force applied to the sander. Use a lighter touch and allow the sander’s weight to do the work. Applying excessive pressure can overload the motor and cause it to stop.
2: Choosing the Right Sandpaper Grit:
One common issue in orbital sanding is the clogging of sandpaper, which reduces its effectiveness. Selecting the appropriate grit for the sanded material is crucial to prevent sandpaper from clogging up. For rough surfaces, use coarser grits, and for smoother finishes, use finer grits. Regularly changing the sandpaper during the sanding process helps maintain its effectiveness and prevents clogging.
3: Cleaning the Sandpaper:
Regularly cleaning the sandpaper can significantly reduce clogging and extend its lifespan. One effective method is using a sanding block or a stiff brush to remove dust and debris from the sandpaper’s surface. This prevents the particles from getting trapped and obstructing the sanding process. Cleaning the sandpaper also helps to maintain its cutting ability, allowing for more efficient sanding and a smoother finish.
4: Applying Lubrication:
Applying Lubrication designed explicitly for sanding can be beneficial in preventing sandpaper from clogging and improving its performance. These lubricants help reduce friction between the sandpaper and the sanded surface, preventing debris accumulation. Lubrication also helps cool down the sandpaper, reducing the risk of overheating. Follow the manufacturer’s instructions and apply the lubricant as recommended for optimal results.
5: Balancing the Sanding Pad:
Excessive vibration during sanding can be attributed to an unbalanced sanding pad. Check the sanding place for visible damage or irregularities to troubleshoot this issue. Replace the pad if necessary. Some orbital sanders allow for the attachment of a flat sanding pad, which can help minimize vibrations. Balanced sanding pads distribute the weight more evenly, resulting in smoother and more comfortable sanding operations.
6: Ensuring Proper Ventilation:
Overheating is a common problem in orbital sanders, especially during prolonged and intense sanding sessions. To prevent overheating, ensure that the sander has proper ventilation. Check the motor vents and ensure they are clear of dust and debris.
Adequate ventilation helps dissipate heat and keeps the motor running smoothly. If the sander lacks sufficient ventilation, consider using a sander model with improved cooling features to mitigate overheating issues.
7: Replacing Worn-out Brushes:
If you notice a decreased power or the sander intermittently stops during use, worn-out brushes could be the culprit. Over time, the brushes in the motor can wear down, leading to decreased performance. To resolve this issue, consult the manufacturer’s guidelines to determine the appropriate replacement brushes for your orbital sander model. Replacing worn-out brushes will ensure optimal motor performance and prevent unexpected stops during sanding.
8: Seeking Professional Assistance:
In some cases, orbital sander troubleshooting may require professional assistance. If you’ve exhausted all the troubleshooting techniques mentioned above and the problem persists, it’s advisable to consult an experienced technician or contact the manufacturer’s customer support. They can provide expert advice, diagnose complex issues, and recommend appropriate repairs or replacements.
Mastering orbital sander troubleshooting techniques is essential for woodworkers and DIY enthusiasts alike. Applying the solutions outlined above, such as adjusting the pressure, choosing the correct sandpaper grit, cleaning the sandpaper, and applying Lubrication, you can overcome common issues like the sander stopping when pressure is applied and sandpaper clogging up.
Here are 8 things to consider to avoid troubleshooting

As an expert in woodworking and DIY projects, I understand the importance of avoiding troubleshooting as much as possible regarding orbital sanders. Taking certain precautions and considering key factors can minimize the chances of encountering issues requiring orbital sander troubleshooting.
1: Selecting the Right Orbital Sander:
Choosing the suitable orbital sander for your specific needs is crucial. Consider factors such as the size and weight of the sander, as well as the power and speed settings. Ensure that the sander you select suits the projects you typically undertake. Investing in a high-quality orbital sander from a reputable brand can also contribute to its overall performance and durability.
2: Using the Correct Sandpaper Grit:
Using the appropriate sandpaper grit for each specific task is vital to prevent issues like sandpaper clogging up. Different materials and surfaces require different grits for optimal results. Coarser grits are suitable for initial rough sanding, while finer grits are ideal for smooth finishes. Refer to the sandpaper manufacturer’s recommendations or consult sanding guides to determine the correct grit for your project.
3: Applying Proper Pressure:
Applying excessive pressure while sanding can cause the orbital sander to stop unexpectedly. The right amount of pressure is vital to maintain a steady sanding motion. Let the sander’s weight work, and avoid pressing down excessively. Applying consistent and moderate pressure allows for effective sanding while minimizing the strain on the motor.
4: Regularly Clean the Sanding Surface:
Preventing sandpaper from clogging up is essential for efficient sanding operations. Make it a habit to clean the sanding surface during the sanding process regularly. This can be done using a sanding block or a stiff brush to remove dust and debris from the surface. Cleaning the sanding surface ensures optimal sanding performance and prevents clogging, resulting in smoother and more consistent sanding results.
5: Keeping the Sander and Work Area Clean:
Maintaining a clean sander and work area is vital to prevent unnecessary troubleshooting. Regularly clean the orbital sander itself, removing any dust or debris that may accumulate. This helps to prevent the motor and other internal components from becoming clogged or damaged. To ensure a clean and smooth sanding process, keep the work area free from excess sawdust or debris.
6: Checking and Replacing Worn-out Parts:
Inspect your orbital sander regularly for any signs of wear or damage. Pay close attention to components like the sanding pad, brushes, and power cord. If you notice any significant wear or damage, replace the worn-out parts promptly.
Worn-out parts can affect the sander’s performance and lead to issues such as the sander stopping when pressure is applied. By proactively replacing worn-out parts, you can maintain optimal functionality and avoid unnecessary troubleshooting.
7: Adhering to Safety Guidelines:
Following safety guidelines is crucial to prevent accidents and minimize the risk of troubleshooting. Always wear appropriate personal protective equipment (PPE), such as safety goggles and dust masks. Please familiarize yourself with the manufacturer’s safety instructions and adhere to them strictly. Proper usage and safe handling of the orbital sander can significantly reduce the likelihood of encountering issues that require troubleshooting.
8: Conducting Regular Maintenance:
Regular maintenance on your orbital sander is vital to its longevity and optimal performance. This includes cleaning the dust collection system, lubricating moving parts, and inspecting the sander for any loose screws or misalignments.
FAQs
As an expert in orbital sander troubleshooting, I understand that users often have questions regarding the operation and maintenance of their sanders. This section will address five frequently asked questions (FAQs) about orbital sanders. By providing clear and concise answers, I aim to assist users in better understanding their sanders and addressing common concerns. Let’s dive into the FAQs!
How do I troubleshoot my orbital sander if it stops when applying pressure?
If your orbital sander stops when applying pressure, it could indicate a few possible issues. First, ensure you are not applying excessive force, which can overload the motor. Use a moderate and consistent amount of pressure. If the problem persists, check if the sanding pad is worn or damaged. Replace it if necessary.
How can I prevent sandpaper from clogging up using an orbital sander?
To prevent sandpaper from clogging up, there are a few measures you can take. First, ensure the sandpaper is the correct grit for the task. Coarser grits are more effective for initial sanding, while finer grits are suitable for achieving a smooth finish. Finally, consider using sandpaper with anti-clogging coatings or perforations, as these can enhance dust extraction and reduce clogging.
How often should I clean the dust collection system of my orbital sander?
Regular cleaning of the dust collection system is crucial for optimal performance. It is recommended to clean the dust collection bag or canister after each use. Empty it and remove any accumulated dust or debris.
Should I lubricate the moving parts of my orbital sander?
Yes, lubricating the moving parts of your orbital sander is essential for smooth operation. Consult the manufacturer’s instructions to determine the recommended lubricant and lubrication schedule. Apply a small amount of lubricant to designated points such as bearings and gears. Proper Lubrication reduces friction, extends the life of the components, and ensures consistent performance.
Can I use any sandpaper with my orbital sander?
It is essential to use sandpaper specifically designed for orbital sanders. These sandpapers are typically round or rectangular and have holes or perforations to facilitate dust extraction. Using the wrong type of sandpaper may not fit properly or provide adequate dust extraction, resulting in reduced performance and potential damage to the sander.
What are the 5 most common mistakes people make with a random orbital sander?
1. Applying too much pressure on the sander.
2. Using the wrong grit sandpaper for the task.
3. Not sanding with the grain of wood.
4. Remember to wear protective gear like goggles and a mask.
5. Failing to clean the sander regularly for optimal performance.
Conclusion:
In conclusion, orbital sander troubleshooting is essential for woodworkers and DIY enthusiasts. You can overcome these challenges by understanding the common issues, such as the sander stopping when pressure is applied and sandpaper clogging up, and following the recommended solutions. Regular maintenance, including cleaning the dust collection system, lubricating moving parts, and using the correct sandpaper.

Why Trust About Sanders?
When it comes to the world of sanding and sanders, you need a trusted source of information and guidance to ensure you achieve those perfect finishes. That's where I come in – I'm Martin, a dedicated sanding enthusiast with a relentless passion for attaining flawless surfaces. With years of hands-on experience in the sanding industry, I've honed my skills and expertise to provide you with the most reliable and accurate insights. What sets me apart is my commitment to excellence. I meticulously handpick each sander after rigorous testing, ensuring that only the best tools make it to your hands. My goal is to empower you with the knowledge and recommendations you need to tackle any sanding task confidently. When you trust About Sanders, you're putting your faith in a seasoned expert who shares your passion for perfection and strives to deliver top-notch information and reviews for every sanding challenge.
