Discover the transformative power of sanding sealer, the ultimate wood sealer for flawless finishes. This clear liquid sealer is a must-have whether staining or working on marine projects.
Key Takeaways:


- It is a valuable tool for achieving flawless wood finishes in woodworking projects.
- It serves multiple purposes, including sealing the wood surface, reducing blotching, and enhancing the overall appearance of the wood.
- It protects against moisture, scratches, and UV damage, improving the durability of the wood.
- Considerations include wood compatibility, potential limitations such as overbuilding, and the need for additional topcoats for optimal durability.
- Woodworkers can optimize their application techniques and achieve professional-quality results by understanding and addressing these considerations.
Understanding Sanding Sealers
A sanding sealer is a specialized finishing product. It is designed to prepare wood surfaces for further finishing, such as staining, painting, or applying a clear topcoat. It’s applied before the final finish to enhance the wood’s appearance, improve adhesion of subsequent coats, and achieve a smooth and even surface.
When to Use Sanding Sealer?
Sanding sealers play a pivotal role in woodworking projects, and there are specific cases where their application is really helpful:
1. Porous Woods: For woods with varying levels of porosity, such as pine or oak, a sanding sealer helps create a uniform surface by preventing uneven absorption of stains or finishes.
2. Sealing Pores: When working with open-grained woods like oak or mahogany, sanding sealers effectively fill the wood’s pores, reducing the risk of uneven finishes.
3. Minimizing Grain Raise: Sanding sealers can control grain raise, a common issue where wood fibers swell after applying a finish. This step ensures a smoother final result.
4. Smoothing Rough Surfaces: If you’re dealing with wood surfaces that exhibit rough patches or uneven textures, sanding sealers help level out imperfections, promoting a refined finish.
How to Apply Sanding Sealer?

Applying a sanding sealer involves careful steps to ensure its effectiveness:
1. Surface Preparation: Begin with a well-prepared wood surface. Sand the wood with progressively finer grit sandpaper to achieve a smooth base.
2. Thinning (if needed): Some sanding sealers come in concentrated forms and require thinning with an appropriate solvent. Follow the manufacturer’s instructions for the correct ratio.
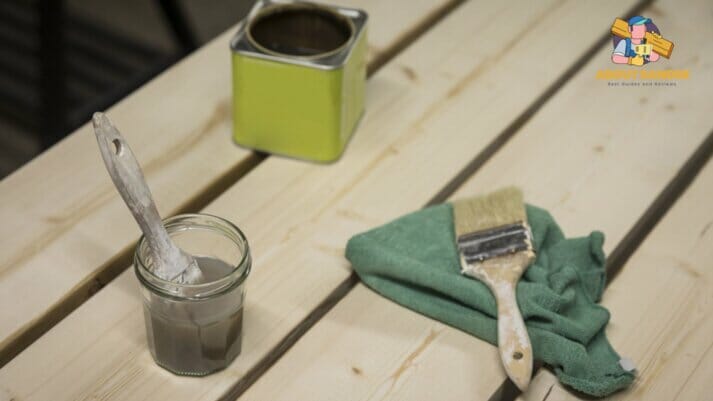
3. Application: Use a clean brush, rag, or sprayer to apply the sanding sealer evenly over the wood surface. Apply a thin coat to prevent drips or excess buildup.
4. Drying Time: Allow the sealer to dry according to the manufacturer’s recommendations. This typically ranges from 15 minutes to an hour.
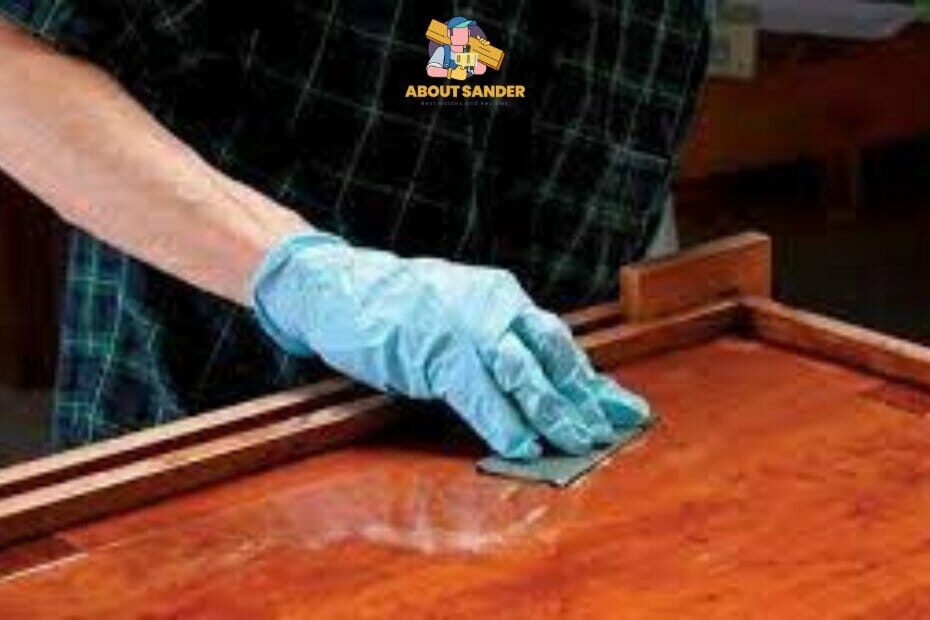
5. Sanding: After the sealer has dried, lightly sand the surface with fine-grit sandpaper (around 220 grit) to create a smooth surface for the final finish.
4 Benefits of Using Sanding Sealers
Sanding sealers offer several advantages to woodworking enthusiasts:
- Smooth Foundation: They create a smooth and consistent foundation for the final finish, enhancing the overall look of the project.
- Enhanced Adhesion: Sanding sealers improve the adhesion of subsequent coats, ensuring a lasting and durable finish.
- Minimized Grain Raise: By reducing grain raise, they contribute to a smoother finish, eliminating the need for excessive sanding between coats.
- Even Stain Absorption: They prevent blotchy or uneven staining on porous woods, resulting in a more even coloration.
6 Types of Sanding Sealers:
As an expert in woodworking finishes, it is essential to understand the different types of it available in the market. This guide will explore the six types of sanding sealers, including their features, benefits, and ideal applications.
1: Wood Sealer:
Wood sealer, also known as a sanding sealer for wood, is a versatile product that acts as a protective layer on the surface of the wood. It fills in pores and grain, creating a smooth foundation for subsequent finishes. Wood sealer enhances the wood’s natural beauty and provides a barrier against moisture and environmental elements.
2: Polyurethane Wood Sealer:
Polyurethane wood sealer is a popular choice for its durability and long-lasting protection. It forms a hard, protective coat resistant to scratches, stains, and water damage. This is ideal for high-traffic areas and furniture requiring extra durability.
3: Clear Sealer for Wood:
A clear sealer for wood is designed to preserve the natural color and grain of the wood while providing protection. It offers a transparent finish, allowing the wood’s beauty to shine without altering its appearance. Clear sealers are commonly used on furniture, cabinetry, and decorative wooden items.
4: Liquid Sanding Sealer:
A liquid sanding sealer is a user-friendly option that is easy to apply and dries quickly. It is often a preparatory step before staining or applying a topcoat. This type of sealer helps to seal the wood, preventing stain blotching and ensuring an even application of subsequent finishes.
5: Marine Wood Sealer:
Marine wood sealer is specifically formulated for wood projects exposed to moisture and harsh weather conditions. It provides excellent resistance to water, UV rays, and saltwater, making it ideal for outdoor furniture, boat decks, and marine applications. Marine wood sealers help to prevent rot, decay, and damage caused by prolonged exposure to moisture.
In the world of woodworking, selecting the right one is crucial for achieving professional-grade finishes. Whether you opt for a wood sealer, polyurethane wood sealer, clear sealer for wood, liquid sanding sealer, or marine wood sealer, each type offers distinct advantages depending on your project requirements.
Acheive Flawless Wood Finishes using Sanding Sealer

It is a crucial step in the wood finishing process that helps achieve a smooth and flawless surface while enhancing the durability of the final finish. From understanding the purpose of sanding sealer to selecting the right type and applying it effectively, you’ll gain the knowledge and skills necessary to achieve impeccable results.
1: Assess the Wood Surface:
Before applying any sanding sealer, carefully examine the wood surface for imperfections, such as dents, scratches, or unevenness. Address issues by sanding or filling them to ensure a smooth starting point.
2: Choose the Right Sanding Sealer:
Select the appropriate one for your project. Consider factors such as the type of wood, desired finish, and level of durability required. Options include water-based, oil-based, or shellac-based sealers with unique properties and applications.
3: Prepare the Wood Surface:
Properly prepare the wood surface by sanding it with progressively finer grits of sandpaper. Start with a coarse grit to remove any roughness or blemishes, and gradually work up to a finer grit for a smoother finish.
4: Apply the First Coat of Sanding Sealer:
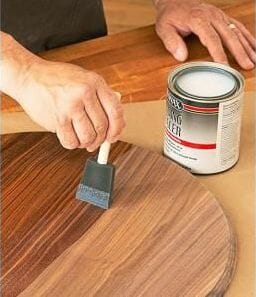
Apply the first coat of it evenly onto the wood surface using a high-quality brush, foam applicator, or sprayer. Ensure complete coverage while avoiding excessive buildup or pooling.
5: Sand the Sealer:
After the first coat has dried according to the manufacturer’s instructions, lightly sand the surface using fine-grit sandpaper. This step helps level any raised grain or imperfections in the sealer and promotes adhesion for subsequent coats.
6: Apply Additional Coats:
Repeat applying thin, even coats, allowing each coat to dry completely before sanding and applying the next. The number of coats required depends on the desired level of protection and the sealer’s instructions.
7: Sanding Between Coats:
Between each coat, lightly sand the surface using fine-grit sandpaper. This helps create a smooth finish and removes any dust or particles that may have settled onto the sealer during drying.
8: Finish with Final Sanding and Topcoat:
Once the desired number of coats has been applied, perform a final sanding using fine-grit sandpaper to achieve a smooth surface. Then, apply a suitable topcoat, such as varnish or lacquer, to provide additional protection and enhance the wood’s appearance.
By following these eight steps, and using the appropriate wood sealer, whether it’s a polyurethane wood sealer, clear sealer for wood, or a liquid sanding sealer, you’ll be well on your way to achieving flawless wood finishes that showcase the beauty and durability of your woodworking projects.
10 Expert Tips for Using Sanding Sealer

Sanding sealer is a valuable tool in achieving professional-quality wood finishes. It provides a smooth foundation, enhances durability, and prepares the wood surface for subsequent coats of finish or stain. To help you optimize your results, we’ve compiled ten pro tips for using effectively.
1: Surface Preparation is Key:
Before applying a sanding sealer, ensure the wood surface is clean, smooth, and free from any imperfections. Proper sanding and dust removal are crucial for optimal adhesion and a flawless finish.
2: Choose the Right Sanding Sealer:
Select the appropriate type of sanding sealer based on your project’s requirements. Consider factors such as the wood species, desired finish, level of protection, and compatibility with other finishes or stains.
3: Apply Thin, Even Coats:
Achieve better results by applying multiple thin coats of sanding sealer rather than a single thick coat. This allows for better absorption, minimizes the risk of drips or runs, and promotes a more uniform finish.
4: Sand Between Coats:
To achieve a smooth and flawless surface, lightly sand the dried sealer between coats using fine-grit sandpaper. This step helps remove any imperfections and promotes adhesion for subsequent coats.
5: Follow the Manufacturer’s Instructions:
Different sealers may have specific application guidelines and drying times. It’s important to carefully read and follow the manufacturer’s instructions for optimal results.
6: Use Proper Application Techniques:
Apply the sanding sealer using a high-quality brush, foam applicator, or sprayer, ensuring even and smooth coverage. Avoid excessive brushing or overworking the sealer, leading to uneven application or streaks.
7: Allow Adequate Drying Time:
Patience is key when working with sealer. Allow each coat to dry fully per the manufacturer’s instructions before sanding or applying subsequent coats. Rushing the process may compromise the final result.
8: Test Compatibility with Stains or Finishes:
Before applying a stain or finish over the sealer, perform a compatibility test on a small inconspicuous area. This ensures that the sealer and the subsequent products work well together, preventing adverse reactions or compatibility issues.
9: Seal the Container Properly:
Ensure the sanding sealer container is tightly sealed when not in use to prevent it from drying out or becoming contaminated. Proper storage preserves the quality and extends the shelf life of the product.
10: Practice on Scrap Wood:
If you’re new to using sealer or trying a new product, practicing on scrap wood first is beneficial. This allows you to familiarize yourself with the application technique, observe the drying time, and evaluate the results before working on your project.
FAQs:
1: What is the purpose of using sanding sealer in woodworking?
Sanding sealer serves multiple purposes in woodworking. Its primary role is to seal the wood surface, creating a smooth and uniform base for subsequent finishes or stains. It helps minimize blotching, enhances the absorption of subsequent layers, and provides a protective barrier to enhance durability.
2: Can sanding sealer be used as a standalone finish?
Sanding sealer is not typically used as a standalone finish. While it provides some level of protection, applying an additional topcoat, such as varnish or lacquer, is generally recommended for enhanced durability and longevity. The sanding sealer acts as a foundation for the topcoat, improving adhesion and ensuring a more professional-looking finish.
3: Is sanding sealer suitable for all types of wood?
Sanding sealer may only be suitable for some types of wood. Some woods, particularly oily or resinous species, may need to absorb the sealer effectively, leading to poor adhesion or an uneven finish. It is important to conduct tests on a small area or scrap piece of wood to ensure compatibility and desired results before applying sanding sealer to the entire project.
Conclusion:
In conclusion, a sanding sealer is a valuable tool in the arsenal of woodworkers, providing a range of benefits for achieving flawless wood finishes. From its ability to seal and prepare the wood surface to its role in enhancing durability and protection, sanding sealer proves its worth in the world of woodworking.

Why Trust About Sanders?
When it comes to the world of sanding and sanders, you need a trusted source of information and guidance to ensure you achieve those perfect finishes. That's where I come in – I'm Martin, a dedicated sanding enthusiast with a relentless passion for attaining flawless surfaces. With years of hands-on experience in the sanding industry, I've honed my skills and expertise to provide you with the most reliable and accurate insights. What sets me apart is my commitment to excellence. I meticulously handpick each sander after rigorous testing, ensuring that only the best tools make it to your hands. My goal is to empower you with the knowledge and recommendations you need to tackle any sanding task confidently. When you trust About Sanders, you're putting your faith in a seasoned expert who shares your passion for perfection and strives to deliver top-notch information and reviews for every sanding challenge.
