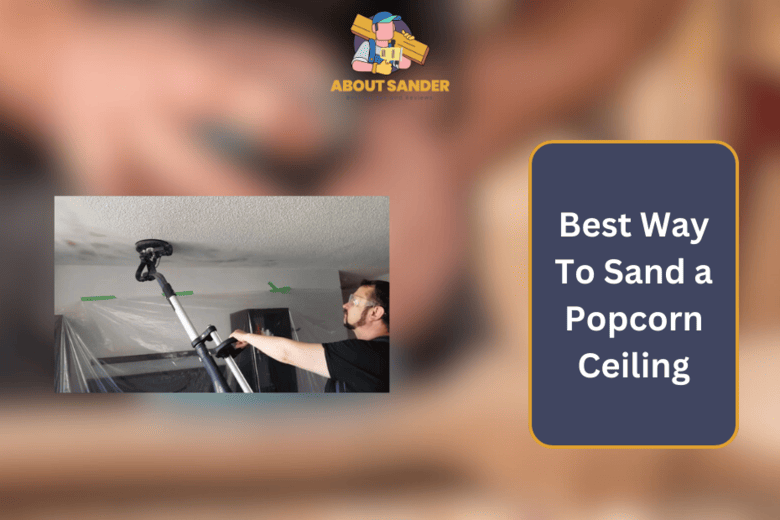
Popcorn ceilings were once popular, but now they can make your home look outdated and stale. The good news is that you can easily sand a popcorn ceiling to give it a more modern and sleek appearance. With the right tools and techniques, you can transform your home into a more stylish and attractive space.
Key Takeaways:

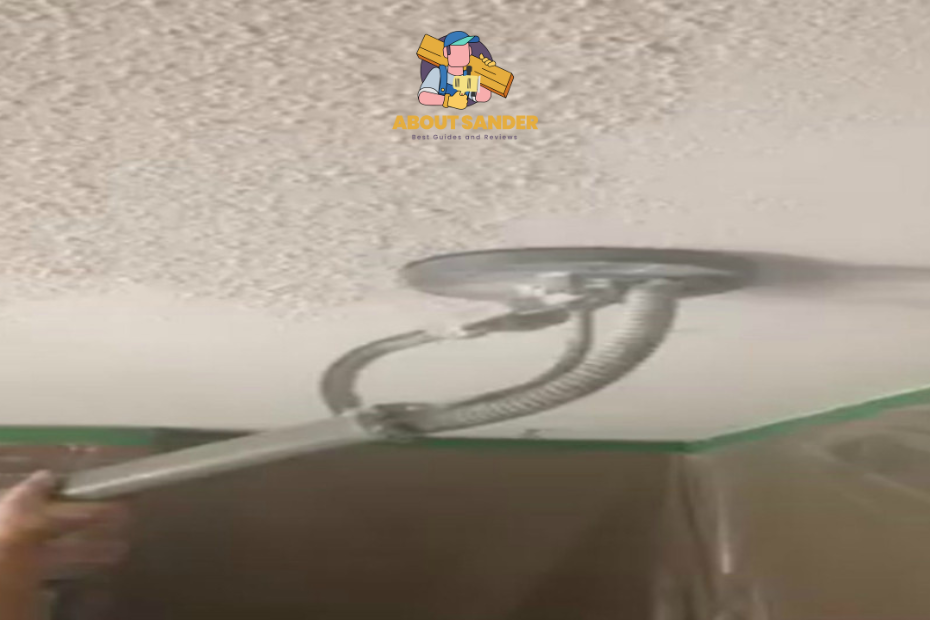
- Sanding a popcorn ceiling is challenging but can be made easier using the right tools, such as a drywall sander or sanding pad.
- Working in small sections and sanding in different directions can help achieve a smooth, even finish.
- Wet sanding can be a great alternative to dry sanding, especially if you want to avoid dust.
- Taking frequent breaks, wearing protective gear, and testing for asbestos can help ensure your safety while sanding a popcorn ceiling.
- Once you’ve sanded your popcorn ceiling, you can paint it with a flat or matte finish to achieve a modern look.
| Method | Pros | Cons | Scope |
| Dry sanding with a drywall sander | Fast and efficient | It creates a lot of dust, requires more experience | Best for large areas, experienced DIYers, or professionals |
| Hand sanding with sanding pads | More control, less dust | Requires more time and effort and can be tiring | Best for small areas, detail work, and beginners |
| Wet sanding | Minimizes dust, easier on lungs | Messy, requires extra preparation | Best for those with respiratory issues or who want to avoid dust |
| Sanding with a pole sander | It can be done standing up, and requires less bending | Requires more strength, can be awkward to maneuver | Best for ceilings with less texture and experienced DIYers or professionals |
| Sanding with a vacuum attachment | Minimizes dust, easier to clean up | Requires a specific vacuum attachment | Best for those with a compatible vacuum and who want to reduce dust |
Here are 5 methods to sand a popcorn ceiling

These are the five methods you can use to sand a popcorn ceiling. Each method has advantages and disadvantages, and you should choose the way that best suits your needs and budget. It’s also essential to take the necessary safety precautions and to clean up thoroughly after sanding to ensure a safe and healthy environment for you and your family.
Method 1: Hand Sanding
Hand sanding is a traditional method for removing popcorn texture from the ceiling. It is a cost-effective and straightforward technique that requires minimal equipment.
Step 1: Prepare the Room
Before you begin, it is crucial to prepare the room for sanding. First, remove all furniture, curtains, and fixtures from the room. Next, cover the floors and walls with plastic sheeting or drop cloths to protect them from dust and debris. It is also recommended to wear protective clothing, goggles, and a dust mask to prevent inhaling any particles.
Step 2: Sand the Ceiling
You can use a sanding block or sandpaper to start sanding the ceiling. Begin by working in a small section of the ceiling, applying even pressure to avoid damaging the drywall underneath. Move the sanding block or sandpaper in a circular or back-and-forth motion to smooth out the texture. Be patient, and take your time to ensure that the popcorn texture is removed uniformly.
Step 3: Vacuum the Dust
Once you’ve sanded a section of the ceiling, use a vacuum cleaner and HEPA filter to remove the dust from the top and surrounding area. Avoid using a broom or brush, which can spread dust around the room. Make sure to vacuum every corner of the room, including the walls, floor, and any furniture or fixtures.
Step 4: Wipe the Ceiling
After vacuuming, use a damp cloth or sponge to wipe the ceiling to remove any remaining dust or debris. Ensure the ceiling is completely dry before moving on to the next section. It is essential to check for any remaining popcorn texture or rough spots and sand them down again.
Step 5: Repair any Damage
After sanding, the ceiling may have minor damage or imperfections. Use a putty knife to fill any holes or cracks with joint compound, and then sand them smooth once they dry. Once the ceiling is smooth and free of damage, it can be painted or retextured as desired.
Step 6: Clean Up
Finally, remove all plastic sheeting or drop cloths, and dispose of them properly. Clean the vacuum filter and wipe down any furniture or fixtures that may have collected dust during the process. A thorough cleanup will help ensure a clean and safe environment for you and your family.
Method 2: Pole Sander
A pole sander is a tool that can be attached to an extension pole, allowing you to reach high ceilings easily. This method is quicker than hand sanding, requires less effort, and can be messier.
Step 1: Prepare the Room
As with hand sanding, the first step is to prepare the room for sanding. Remove all furniture, curtains, and fixtures from the room, and cover the floors and walls with plastic sheeting or drop cloths. Wear protective clothing, goggles, and a dust mask to prevent inhaling any particles.
Step 2: Attach the Pole Sander
Attach the pole sander to an extension pole, ensuring it is securely fastened. Depending on the model, the pole sander may have a swivel head, allowing you to sand at different angles.
Step 3: Sand the Ceiling
Using the pole sander, sand the ceiling in a circular or back-and-forth motion. Start in a small section of the ceiling, and work around the room. Use light pressure and let the weight of the pole sander do the work for you, as this can damage the drywall underneath.
Step 4: Vacuum the Dust
Once you’ve sanded a section of the ceiling, use a vacuum cleaner and HEPA filter to remove the dust from the ceiling and surrounding area. As with hand sanding, avoid using a broom or brush as they can spread dust particles around the room. Make sure to vacuum every corner of the room, including the walls, floor, and any furniture or fixtures.
Step 5: Wipe the Ceiling
After vacuuming, use a damp cloth or sponge to wipe the ceiling to remove any remaining dust or debris. Ensure the ceiling is completely dry before moving on to the next section. Checking for any remaining popcorn texture or rough spots and sand them down again is essential.
Step 6: Clean Up
Finally, remove all plastic sheeting or drop cloths, and dispose of them properly. Clean the vacuum filter and wipe down any furniture or fixtures that may have collected dust during the process. A thorough cleanup will help ensure a clean and safe environment for you and your family.
Method 3: Wet Sanding
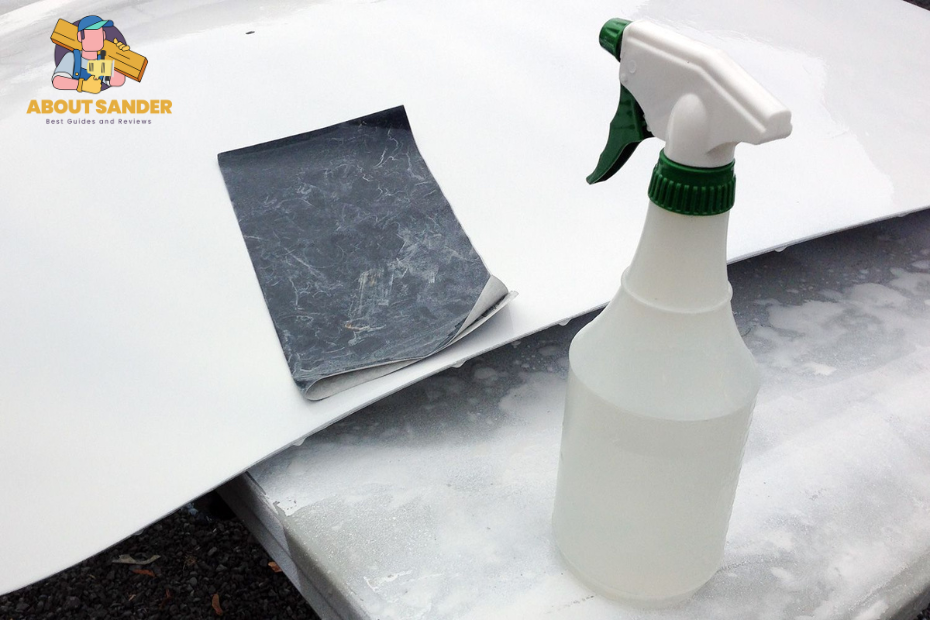
Wet sanding is a technique that involves using a damp sponge or sandpaper to remove popcorn texture from the ceiling. This method is less messy than dry sanding, as the water helps to keep dust and debris contained.
Step 1: Prepare the Room
As with dry sanding, the first step is to prepare the room for sanding. Remove all furniture, curtains, and fixtures from the room, and cover the floors and walls with plastic sheeting or drop cloths. Wear protective clothing, goggles, and a dust mask to prevent inhaling any particles.
Step 2: Wet the Ceiling
Using a spray bottle or a garden sprayer, wet the ceiling thoroughly. Be careful not to saturate the ceiling, as this can cause damage to the drywall. Allow the water to soak in for a few minutes before proceeding to the next step.
Step 3: Wet Sand the Ceiling
Using a damp sponge or sandpaper, begin wet sanding the ceiling in a circular or back-and-forth motion. Start in a small section of the ceiling, and work around the room. Use light pressure and let the water do the work for you. As this can damage the drywall underneath.
Step 4: Rinse the Sponge or Sandpaper
After sanding a section of the ceiling, rinse the sponge or sandpaper in a bucket of clean water. Make sure to squeeze out any excess water before continuing.
Step 5: Repeat Wetting and Sanding
Continue wetting and sanding small ceiling sections until you have removed all popcorn textures. Make sure to keep the ceiling wet to avoid creating dust and debris.
Step 6: Clean Up
Finally, remove all plastic sheeting or drop cloths, and dispose of them properly. Clean the vacuum filter and wipe down any furniture or fixtures that may have collected dust during the process. A thorough cleanup will help ensure a clean and safe environment for you and your family.
Method 4: Electric Drywall Sander

An electric drywall sander can be used to quickly and efficiently remove popcorn texture from the ceiling promptly and efficiently. This method is less labor-intensive than hand sanding and can more effectively remove the stubborn surface.
Step 1: Prepare the Room
As with other sanding methods, the first step is to prepare the room for sanding. Remove all furniture, curtains, and fixtures from the room, and cover the floors and walls with plastic sheeting or drop cloths. Wear protective clothing, goggles, and a dust mask to prevent inhaling any particles.
Step 2: Attach the Electric Drywall Sander
Attach the sandpaper to the electric drywall sander according to the manufacturer’s instructions. Ensure the sander is plugged in and turned on before sanding the ceiling.
Step 3: Sand the Ceiling
Begin sanding the ceiling in a circular or back-and-forth motion, using light pressure, as this can damage the drywall underneath. Move the sander into small ceiling sections, overlapping each team slightly to ensure complete coverage.
Step 4: Vacuum the Dust
As you sand each section of the ceiling, use a vacuum cleaner with a HEPA filter to remove the dust from the ceiling and surrounding area. Make sure to vacuum every corner of the room, including the walls, floor, and any furniture or fixtures.
Step 5: Wipe the Ceiling
After vacuuming, use a damp cloth or sponge to wipe the ceiling to remove any remaining dust or debris. Ensure the ceiling is completely dry before moving on to the next section. It is essential to check for any remaining popcorn texture or rough spots and sand them down again.
Step 6: Clean Up
Finally, remove all plastic sheeting or drop cloths, and dispose of them properly. Clean the vacuum filter and wipe down any furniture or fixtures that may have collected dust during the process. A thorough cleanup will help ensure a clean and safe environment for you and your family.
5: Ceiling Texture Scraper
A ceiling texture scraper is a handheld tool that can remove popcorn texture from the ceiling quickly and easily. This method is advantageous for smaller areas or spot repairs.
Step 1: Prepare the Room
As with other sanding methods, the first step is to prepare the room for sanding. Remove all furniture, curtains, and fixtures from the room, and cover the floors and walls with plastic sheeting or drop cloths. Wear protective clothing, goggles, and a dust mask to prevent inhaling any particles.
Step 2: Scrape the Ceiling
Hold the texture scraper at a 30-degree angle to the ceiling and use a back-and-forth motion to scrape the popcorn texture off the ceiling. Be careful not to gouge the drywall underneath. Work in small ceiling sections, and use a ladder or step stool to reach high areas.
Step 3: Vacuum the Dust
As you scrape each section of the ceiling, use a vacuum cleaner with a HEPA filter to remove the dust from the ceiling and surrounding area. Make sure to vacuum every corner of the room, including the walls, floor, and any furniture or fixtures.
Step 4: Wipe the Ceiling
After vacuuming, use a damp cloth or sponge to wipe the ceiling to remove any remaining dust or debris. Ensure the ceiling is completely dry before moving on to the next section. It is essential to check for any remaining popcorn texture or rough spots and sand them down again.
Step 5: Clean Up
Finally, remove all plastic sheeting or drop cloths, and dispose of them properly. Clean the vacuum filter and wipe down any furniture or fixtures that may have collected dust during the process. A thorough cleanup will help ensure a clean and safe environment for you and your family.
Here are 5 tips and tricks to sand a popcorn ceiling

Sanding a popcorn ceiling can be daunting, but with the right tips and tricks, you can make the job easier and achieve a smooth, modern finish. In this article, we’ll share five tips and tricks to sand a popcorn ceiling, from using the right tools to avoiding common mistakes.
1: Use the Right Tools
To send a popcorn ceiling, you’ll need the right tools. Invest in a good-quality drywall sander, sanding pad, and sandpaper with fine grit. A vacuum cleaner with a HEPA filter is also essential to remove the dust as you sand. If you don’t want to invest in a drywall sander, you can use a pole sander or sanding sponge to achieve a smooth finish.
2: Work in Small Sections
Sanding a popcorn ceiling can be time-consuming, but working in small sections can make the job more manageable. Divide the ceiling into small sections, focusing on honing one area at a time. This will help you achieve a smooth, even finish and prevent you from getting overwhelmed.
3: Sand in Different Directions
To achieve a smooth finish, it’s essential to sand the ceiling in different directions. Start by sanding the ceiling in a circular motion, then switch to sanding in a back-and-forth motion. This will help you achieve a uniform finish and prevent swirl marks or scratches on the ceiling.
4: Use a Wet Sanding Method
If you want to avoid dust and make the job easier, consider using a wet sanding method. Wet sanding involves using a sponge or sanding pad with water to sand the ceiling. This method will help you avoid dust and make the popcorn texture easier to remove.
5: Take Breaks
Sanding a popcorn ceiling can be a physically demanding task, so it’s essential to take breaks. Take frequent breaks to stretch and rest your arms and shoulders. This will help you avoid fatigue and prevent any muscle strain. It’s also a good idea to wear protective gear, such as a dust mask and goggles, to prevent health hazards.
FAQs
Sanding a popcorn ceiling can be challenging, especially for those not experienced in home renovation projects. Here are three frequently asked questions to sand a popcorn ceiling to help you achieve a smooth and modern finish.
1: Is it safe to sand a popcorn ceiling?
While sanding a popcorn ceiling is generally safe, it can release dust and particles that may harm your health. It’s essential to wear protective gear, like a dust mask and goggles, to avoid breathing in any particles.
2: How do I prepare the ceiling before sanding?
Before sanding a popcorn ceiling, you’ll need to prepare the area. Remove any furniture from the room and cover the floors and walls with plastic sheeting. This will help protect your home from dust and debris. Testing for asbestos, commonly used in popcorn ceilings until the 1980s, is also essential.
3: Can I paint a popcorn ceiling after sanding?
Yes, you can paint a popcorn ceiling after sanding it. Sanding the ceiling can help the paint adhere to it and create a smoother finish. Clean the ceiling thoroughly before painting, and use a paint roller with a thick nap to ensure even coverage. Choosing the right paint for your ceiling, such as a flat or matte finish, is also essential.
Conclusion
In conclusion, sanding a popcorn ceiling is not easy, but you can achieve a smooth and modern finish with the right tools, techniques, and safety precautions. Whether sanding your ceiling to prepare it for painting or simply wanting to update its look, following the tips and tricks outlined in this article can help you achieve your desired result.

Why Trust About Sanders?
When it comes to the world of sanding and sanders, you need a trusted source of information and guidance to ensure you achieve those perfect finishes. That's where I come in – I'm Martin, a dedicated sanding enthusiast with a relentless passion for attaining flawless surfaces. With years of hands-on experience in the sanding industry, I've honed my skills and expertise to provide you with the most reliable and accurate insights. What sets me apart is my commitment to excellence. I meticulously handpick each sander after rigorous testing, ensuring that only the best tools make it to your hands. My goal is to empower you with the knowledge and recommendations you need to tackle any sanding task confidently. When you trust About Sanders, you're putting your faith in a seasoned expert who shares your passion for perfection and strives to deliver top-notch information and reviews for every sanding challenge.
