If you’re wondering how to sand plywood, you’ve come to the right place. Sanding plywood is essential in any woodworking project, whether building furniture, cabinetry, or a simple DIY project.
In this guide, we’ll cover everything you need to know about sanding plywood, including choosing the right sandpaper, techniques for achieving a smooth finish, and tips for avoiding common mistakes.
Following our step-by-step instructions, you can sand plywood like a pro and achieve professional-looking results every time.
Key takeaways:


- Sanding plywood is important to create a smooth and even surface for finishing or painting.
- Use the appropriate type of sandpaper for the level of roughness on the plywood surface.
- Sand in the direction of the grain with even pressure, and take your time to avoid over-sanding or creating uneven spots.
- Test the smoothness of the surface by running your hand over it.
- Clean up any sawdust or debris left behind using a tack cloth or vacuum cleaner.
How to Sand Plywood Smoothly?
Sanding plywood is an essential part of any woodworking project, and with the right techniques, you can create a smooth, professional-looking finish.

1. Understand Plywood and Its Uses
Before you start sanding, it’s important to understand what plywood is and how it’s used in woodworking projects.
2. Choose the Right Sandpaper
Choosing the right sandpaper is essential for achieving a smooth finish on plywood. You’ll want to select sandpaper with grit that matches the level of roughness on your plywood.
3. Prepare Your Workspace and Plywood
Preparing your workspace and plywood is crucial for achieving the best results. Make sure your workspace is clean and debris-free, and prepare your plywood by removing any rough spots or imperfections.
4. Sanding Techniques for Best Results
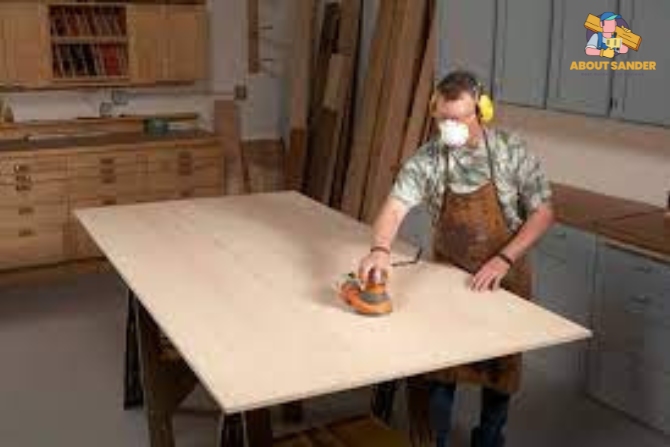
You can use various sanding techniques to achieve a smooth finish on plywood. Some popular techniques include sanding in the direction of the grain, using a sanding block, and using a power sander.
5. Sand in the Right Direction
Sanding in the right direction is crucial for achieving a smooth finish on plywood.
6. Use a Sanding Block or Power Sander
A sanding block or power sander can help you achieve a more even finish on your plywood. These tools can help you sand more quickly and effectively than sanding by hand.
7. Handle the Edges with Care
Sanding plywood edges can be tricky, but you can achieve a smooth finish with the right techniques when using a sanding block and power sander to achieve an even finish.
8. Finishing Touches for a Flawless Look
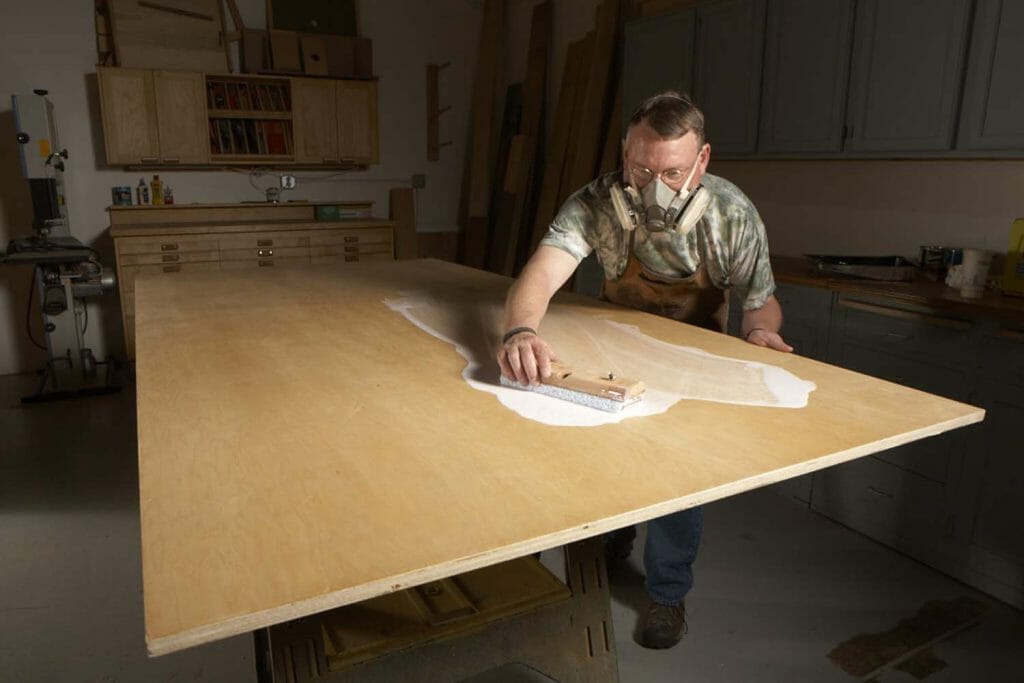
After you’ve sanded your plywood, you can apply a few finishing touches to achieve a flawless look. Consider applying a protective finish, such as varnish or wax, to help protect the wood and create a polished look.
9. Troubleshooting Common Sanding Issues
Sanding plywood can sometimes lead to common issues, such as over-sanding or uneven finish. Knowing how to troubleshoot these issues can help you achieve the best results.
10. Clean Up and Store Your Tools
After you’ve finished sanding your plywood, cleaning up your workspace and storing your tools properly is important. This will help ensure your tools last years and are ready for your next woodworking project.
Sand and Shine: How to Get the Perfect Finish on Your Plywood:

How to get the perfect finish on your plywood. Sanding plywood is essential to achieving a smooth, polished finish. Here are some tips to help you get started:
1. Start with Coarse Grit
Begin with coarse grit sandpaper to remove any rough spots or imperfections. Use a sanding block to maintain even pressure and sand in the direction of the grain.
2. Move to Fine Grit
Once you have removed any rough spots, move on to a finer grit sandpaper to achieve a smoother finish. Sand in the direction of the grain to avoid scratches or other imperfections.
3. Sand the Edges
Sanding edges can be tricky, but it is essential to achieving a smooth finish. Use a sanding block to maintain even pressure and sand in the direction of the grain.
4. Finish with a Power Sander
Using a power sander can help you achieve a smoother finish faster than sanding by hand. Be sure to use the right attachment and keep the sander moving circularly.
5. Clean the Plywood
After sanding, clean the plywood thoroughly to remove any dust or debris. Use a damp cloth to wipe down the surface and let it dry completely before proceeding.
6. Apply a Finish
Applying a finish, such as a varnish or wax, can help protect the plywood and create a polished finish. Be sure to follow the manufacturer’s instructions for the best results.
7. Buff the Surface
Once the finish has dried, use a soft cloth or buffing pad to buff the surface of the plywood. This will help bring out the shine and create a polished finish.
By following these tips on how to sand plywood, you can achieve a smooth, polished finish that will make your project shine.
Can you sand plywood?

Sanding plywood is essential in achieving a smooth, flawless finish for your woodworking projects. Here are some tips on how to sand plywood to help you achieve the best results:
1. Start with the Right Plywood:
Choosing the right plywood can make a big difference in sanding. Select high-quality plywood with a smooth surface to make sanding easier and more effective.
2. Sand with the Grain:
Sanding with the grain is crucial for avoiding scratches or other imperfections on your plywood. Always sand in the direction of the grain to achieve a smooth finish.
3. Use a Sanding Block:
A sanding block can help you achieve an even finish and prevent over-sanding in one area. It can also provide more control and make the sanding process easier.
4. Apply Light Pressure:
Too much pressure can cause the sandpaper to dig into the plywood, creating scratches or other imperfections. Apply light pressure and let the sandpaper do the work.
Following these tips, you can easily sand plywood and achieve a smooth, polished finish for your projects.
What is sanded plywood?

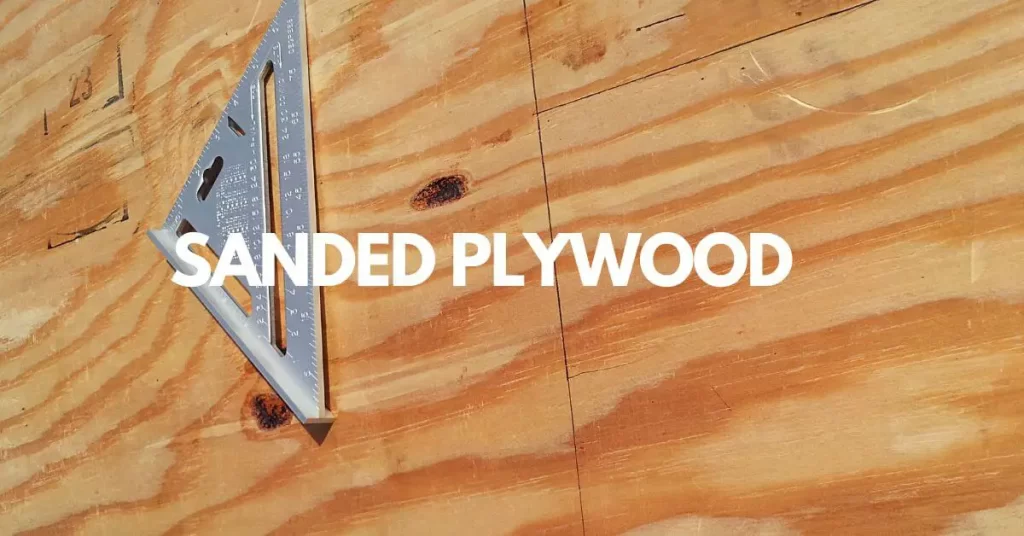
Sanded plywood is a type of plywood that has been sanded to achieve a smooth surface on one or both sides of the panel. The sanding process removes any roughness, bumps, or irregularities on the surface of the plywood, resulting in a flat and uniform appearance. Here are some tips on how to sand plywood to achieve the best results:
1. Prepare the Plywood:
Start by cleaning the plywood surface and removing any debris or dust that may be present. This will help ensure a smooth finish and prevent any imperfections.
2. Choose the Right Sandpaper:
Select the appropriate grit sandpaper for the job, depending on the level of sanding required. Coarser grits are ideal for rough surfaces, while finer grits are better for finishing.
3. Sand with the Grain:
Always sand with the grain of the plywood to avoid scratches or other imperfections. This will help you achieve a smooth, polished finish.
4. Use a Sanding Block;
A sanding block can help you achieve an even finish and prevent over-sanding in one area. It can also provide more control and make the sanding process easier.
Following these tips, you can easily sand plywood and achieve a smooth, polished finish for your woodworking projects.
Sanding Plywood for Painting: A Step-by-Step Guide to Achieving a Perfect Finish:
Sanding plywood is a crucial step when preparing it for painting. Whether you’re painting a furniture piece, cabinetry, or any other project, sanding helps the paint adhere better and provides a smooth, even finish. Here’s a guide on sanding plywood for painting:
1. Determine the Grit
The grit of sandpaper you use for sanding plywood depends on the roughness of the surface. Begin with coarse grit sandpaper and gradually move to finer grits for a smoother finish.
2. Sanding
Sand the plywood thoroughly using a sanding block, following the direction of the grain. Pay extra attention to the edges, corners, and crevices. Sand until the surface is smooth and even.
3. Clean the Surface
After sanding, remove all the sawdust and debris from the surface using a tack cloth or a vacuum cleaner.
4. Apply a Primer
Applying a primer is recommended as it helps the paint adhere better and prevents stains from bleeding through the paint. Allow the primer to dry completely before applying the paint.
5. Sand Between Coats
For a smooth and even finish, it’s recommended to sand the surface between coats of paint. This will help remove brush strokes or imperfections and provide a better surface for the next coat.
6. Finish
Once you’ve applied the final coat of paint, allow it to dry completely. Once dry, sand the surface lightly using fine-grit sandpaper to remove any bumps or imperfections. Wipe away any dust with a tack cloth, and your project is ready!
Remember to wear proper safety equipment such as a dust mask, goggles, and gloves while sanding plywood for painting.
FAQs on How to sand plywood:
Here are some FAQs on how to plywood.
Why is it important to sand plywood?
Sanding plywood is important because it helps to create a smooth and even surface, which is necessary for any finishing or painting work.
What type of sandpaper should I use for sanding plywood?
The type of sandpaper you should use depends on the level of roughness on the surface of the plywood. For rougher surfaces, start with a coarse grit sandpaper and gradually move to a finer grit for a smoother finish.
What is the best technique for sanding plywood?
The best technique for sanding plywood is to use a sanding block or an electric sander and sand in the direction of the grain. Be sure to use even pressure and take your time to avoid over-sanding or creating uneven spots.
How do I know when I’ve sanded enough?
You can tell when you’ve sanded enough by running your hand over the surface of the plywood. You’ve likely sanded enough if it feels smooth and even, without any rough spots or bumps.
How do I clean up after sanding plywood?
After sanding, cleaning up any sawdust or debris left behind is important. You can use a tack cloth or a vacuum cleaner to remove the dust. Wear a dust mask to protect your lungs from inhaling any fine particles.
Conclusion:
Sanding plywood is essential in achieving a smooth and even surface for finishing or painting. It requires appropriate sandpaper, sanding technique, and attention to detail to avoid over-sanding or creating uneven spots.
Testing the smoothness of the surface with your hand and cleaning up any debris after sanding are also important steps. By following these guidelines, anyone can successfully sand plywood and achieve professional-looking results.

Why Trust About Sanders?
When it comes to the world of sanding and sanders, you need a trusted source of information and guidance to ensure you achieve those perfect finishes. That's where I come in – I'm Martin, a dedicated sanding enthusiast with a relentless passion for attaining flawless surfaces. With years of hands-on experience in the sanding industry, I've honed my skills and expertise to provide you with the most reliable and accurate insights. What sets me apart is my commitment to excellence. I meticulously handpick each sander after rigorous testing, ensuring that only the best tools make it to your hands. My goal is to empower you with the knowledge and recommendations you need to tackle any sanding task confidently. When you trust About Sanders, you're putting your faith in a seasoned expert who shares your passion for perfection and strives to deliver top-notch information and reviews for every sanding challenge.
