Sanding Lodge cast iron is essential to breathe new life into your beloved cookware. Whether you’re a professional chef or a passionate home cook, maintaining the quality and performance of your Lodge cast iron is crucial.
By sanding Lodge cast iron, you can restore its smooth surface, remove rust and buildup, and enhance its non-stick properties.
Key Takeaways:

- Sanding Lodge cast iron is essential for restoring its smooth surface, removing imperfections, and enhancing its non-stick properties.
- Use medium-grit sandpaper for initial sanding and transition to finer-grit sandpaper for a polished finish.
- Prioritize safety by wearing protective gloves and ensuring proper ventilation in your work area.
- Never skip removing rust and buildup before sanding to achieve effective results.
- Thoroughly clean and dry the cast iron after sanding to prevent rust formation and maintain its quality.
In this guide, we will explore the art of sanding Lodge cast iron and uncover the secrets to bringing out its natural beauty and durability. So, grab your sandpaper, and let’s dive into the world of sanding Lodge cast iron!
7 Steps of Sanding Lodge Cast Iron
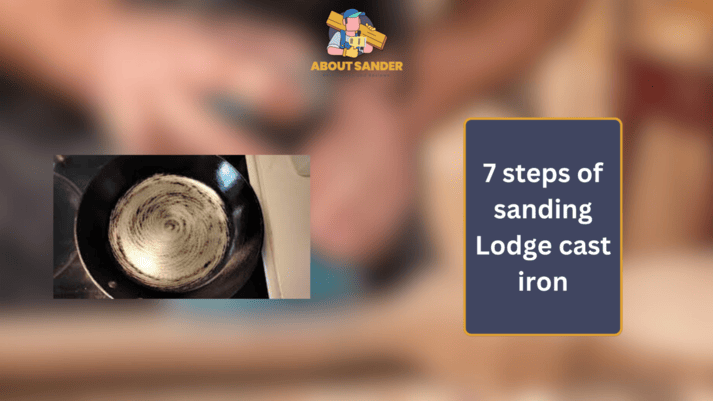
Welcome to the comprehensive guide on sanding Lodge cast iron, where we will walk you through the seven essential steps to achieve a beautifully restored and well-maintained piece of cookware. Following these step-by-step instructions, you can transform your Lodge cast iron into a smooth, seasoned masterpiece that will elevate your culinary experience.
Step 1: Gather the necessary tools and materials
Before you begin sanding your Lodge cast iron, gathering all the tools and materials you’ll need for the process is essential. These include medium-grit sandpaper (around 120 to 150 grit), fine-grit sandpaper (about 220 to 320 grit), a sanding block or a piece of wood, protective gloves, and a clean cloth.
Step 2: Prepare your work area
To ensure a clean and organized workspace, prepare a designated area for sanding your Lodge cast iron. Lay down a drop cloth or some newspapers to catch debris or dust from the sanding process.
Step 3: Remove rust and buildup
If your Lodge cast iron has rust or stubborn buildup, it’s crucial to address this before sanding. Use a stiff-bristled brush or steel wool gently scrub any rust or residue. Rinse the cookware thoroughly and dry it completely.
Step 4: Begin with the medium-grit sandpaper
Now it’s time to start sanding. Wrap the medium-grit sandpaper around the sanding block or a piece of wood to create a stable surface. Hold the Lodge cast iron firmly and begin rubbing in circular motions, applying even pressure. The goal is to remove rough patches, bumps, or imperfections on the surface.
Step 5: Transition to the fine-grit sandpaper
Once you’re satisfied with the results from the medium-grit sandpaper, it’s time to switch to fine-grit sandpaper. Repeat the sanding process with the finer grit, focusing on achieving a smooth and polished surface. This step helps to refine the texture and prepare the Lodge cast iron for seasoning.
Step 6: Clean and dry the cast iron
After sanding, cleaning the Lodge thoroughly with cast iron is essential to remove any sanding residue. Rinse the cookware with warm water and mild soap, then dry it thoroughly. Ensure no moisture is left on the surface to prevent any potential rust formation.
Step 7: Season the Lodge cast iron
Finally, it’s time to season your newly sanded Lodge cast iron. Apply a thin layer of vegetable oil or any food-safe seasoning oil to the entire surface, including the handle. Preheat your oven to the recommended temperature (usually around 350°F or 175°C) and place the cast iron upside-down on the oven rack.
You should know 5 do’s of sanding Lodge cast iron
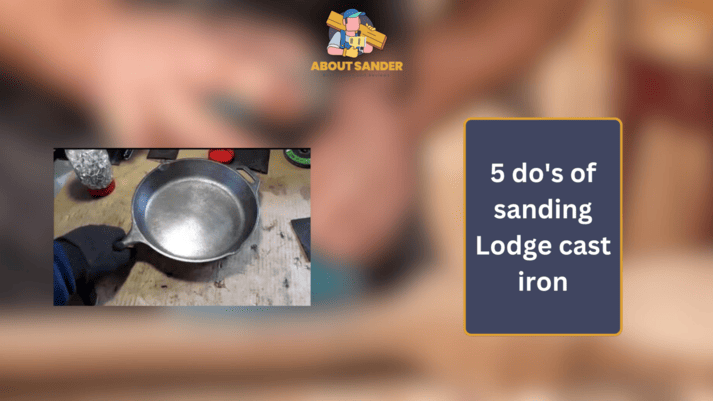
Welcome to the expert’s guide on the do’s of sanding Lodge cast iron. Sanding is a vital process that allows you to restore and maintain the quality of your Lodge cast iron cookware. So, let’s delve into the five essential do’s of sanding Lodge cast iron and unlock the secrets to achieving exceptional results.
1: Do choose the correct sandpaper grit:
Selecting the appropriate sandpaper grit is crucial for an effective sanding process. For initial sanding to remove rough patches and imperfections, start with medium-grit sandpaper, such as 120 to 150 grit. Once you’ve achieved a smoother surface, transition to finer-grit sandpaper, around 220 to 320 grit, for the final sanding.
2: Do use a sanding block or a stable surface:
Using a sanding block or securing sandpaper around a piece of wood is recommended to maintain control and even pressure while sanding. This provides stability and helps distribute pressure evenly, preventing uneven sanding or potential damage to the cast iron’s surface.
3: Exercise patience and take your time:
Sanding Lodge cast iron requires patience and attention to detail. Rushing through the process can lead to uneven results or unnecessary damage. Take your time and work methodically, focusing on one area. You’ll be patiently sanding the entire surface to achieve a consistent and smooth finish.
4: Do remove rust and buildup before sanding:
Before starting the sanding process, addressing any rust or stubborn buildup on your Lodge cast iron is crucial. Use a stiff-bristled brush or steel wool gently scrub the rust or residue. This step ensures a clean sanding surface and prevents further damage to the cast iron.
5: Clean and dry the cast iron after sanding:
Once you’ve completed the sanding process, cleaning the Lodge thoroughly cast iron is essential to remove any sanding residue. Rinse the cookware with warm water and mild soap, then dry it thoroughly. This step ensures that no abrasive particles or moisture remain, preventing potential rust formation.
Here are 5 don’ts of sanding Lodge cast iron
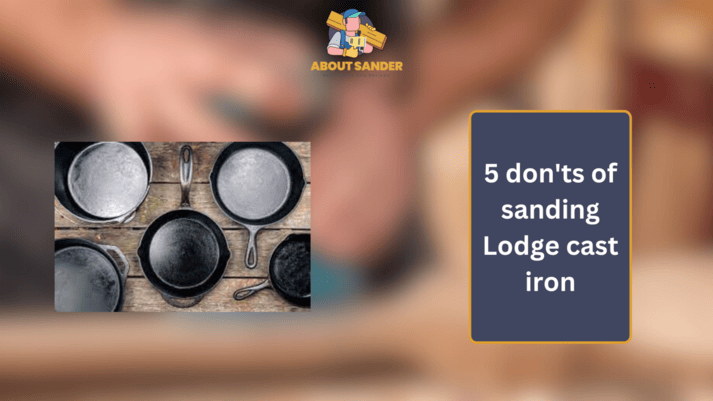
Welcome to the expert’s guide on the don’ts of sanding Lodge cast iron. Sanding is a crucial process for maintaining and restoring the quality of your Lodge cast iron cookware. This guide will explore the five critical don’ts of sanding Lodge cast iron, helping you confidently navigate the process and achieve outstanding results.
1: Don’t use excessively coarse sandpaper:
Using sandpaper that is too coarse can damage the surface of your Lodge cast iron. Avoid using extremely low-grit sandpaper, which can leave deep scratches or gouges. Stick to medium-grit sandpaper (around 120 to 150 grit) for initial sanding, and gradually transition to finer-grit sandpaper (approximately 220 to 320 grit) for a smooth finish.
2: Don’t apply excessive pressure:
Applying excessive pressure while sanding can result in uneven sanding or even warping the surface of your Lodge cast iron. The goal is to gradually remove imperfections without compromising the cookware’s integrity. Apply moderate and consistent pressure, allowing the sandpaper to do the work.
3: Don’t neglect safety precautions:
When sanding Lodge cast iron, it’s crucial to prioritize safety. Always wear protective gloves to shield your hands from sharp edges and prevent potential injuries. Additionally, ensure proper ventilation in your work area to avoid inhaling dust particles that may be generated during the sanding process.
4: Don’t skip the rust and buildup removal step:
Before starting the sanding process, removing any rust or stubborn buildup from your Lodge cast iron is essential. This step must be revised to avoid ineffective sanding and the spread of rust or residue. Use a stiff-bristled brush or steel wool to gently scrub away the rust and buildup, ensuring a clean surface for sanding.
5: Don’t forget to thoroughly clean and dry the cast iron after sanding:
After sanding your Lodge cast iron, removing any sanding residue and moisture is vital. Failing to clean and dry the cookware properly can result in rust formation. Rinse the cast iron with warm water and mild soap, ensuring that all sanding debris is removed. Thoroughly dry the cookware to prevent any moisture from lingering on the surface.
FAQs
1: Why is sanding necessary for Lodge cast iron?
Sanding Lodge cast iron is necessary to restore the smooth surface, remove imperfections, and enhance its non-stick properties. Over time, cast iron cookware can develop rough patches, rust, or buildup, affecting its performance.
2: What sandpaper should I use to sand Lodge cast iron?
For sanding Lodge cast iron, it is recommended to use medium-grit sandpaper (around 120 to 150 grit) for initial sanding. This helps to remove rough patches and imperfections. After achieving a smoother surface, transition to finer-grit sandpaper (around 220 to 320 grit) for the final sanding.
3: Can I skip the rust and buildup removal step before sanding Lodge cast iron?
Skipping the rust and buildup removal step is not recommended before sanding Lodge cast iron. Rust and stubborn buildup can hinder the effectiveness of the sanding process and may lead to further damage. Use a stiff-bristled brush or steel wool to gently scrub away the rust and residue before sanding.
Conclusion:
By addressing these, she frequently asked questions on sanding Lodge cast iron; you better understand the importance of sanding, the appropriate sandpaper grit, and the necessity of removing rust and buildup before sanding. With this knowledge, you can confidently restore and maintain your Lodge cast iron cookware, ensuring its longevity and optimal performance in the kitchen.

Why Trust About Sanders?
When it comes to the world of sanding and sanders, you need a trusted source of information and guidance to ensure you achieve those perfect finishes. That's where I come in – I'm Martin, a dedicated sanding enthusiast with a relentless passion for attaining flawless surfaces. With years of hands-on experience in the sanding industry, I've honed my skills and expertise to provide you with the most reliable and accurate insights. What sets me apart is my commitment to excellence. I meticulously handpick each sander after rigorous testing, ensuring that only the best tools make it to your hands. My goal is to empower you with the knowledge and recommendations you need to tackle any sanding task confidently. When you trust About Sanders, you're putting your faith in a seasoned expert who shares your passion for perfection and strives to deliver top-notch information and reviews for every sanding challenge.
