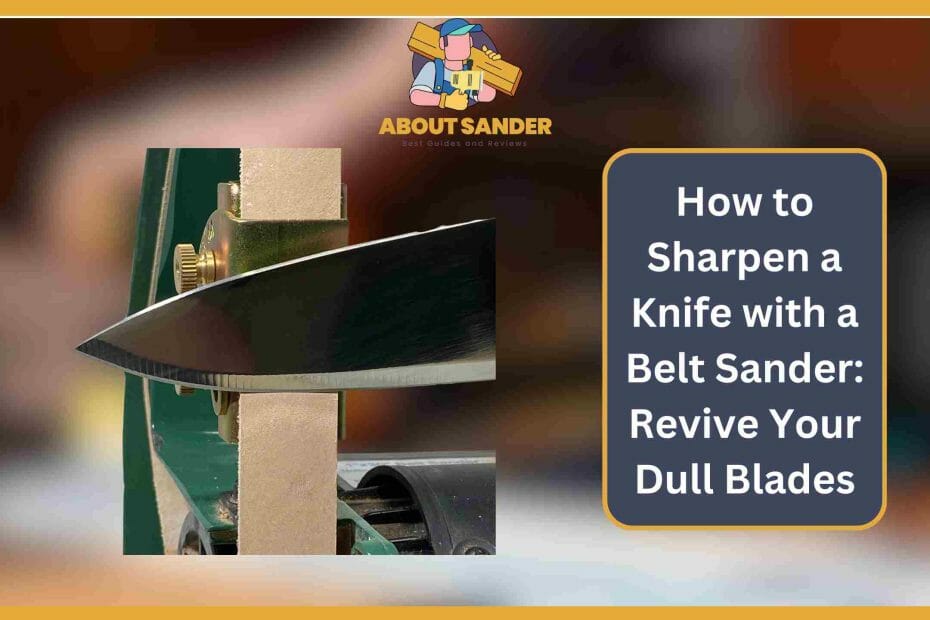
How to Sharpen a knife with a belt sander is an efficient and effective way to bring a dull blade back to life. It involves using a high-speed abrasive belt to grind away the dull edges of a knife, leaving a sharp and precise blade behind.
By following the proper technique and using the right belt grit, anyone can sharpen a knife with a belt sander and achieve impressive results.
In this guide, we’ll take you through the steps to sharpen a knife with a belt sander, from preparing your knife and the machine to fine-tuning the edge and ensuring your safety. Get ready to achieve a razor-sharp edge with a belt sander!
Key Takeaways:
Unleash Your Inner Bladesmith: Sharpen a Knife with a Belt Sander – A Beginner’s Guide
Using a belt sander can be a game-changer to take your knife-sharpening game to the next level. It is an efficient way to sharpen a dull knife, allowing for precision and control that other sharpening methods may lack.

Preparing the knife and the belt sander:
Preparing the knife and the belt sander is an important step when sharpening a knife with a belt sander. You need to know the key subheadings to prepare for the sharpening process.
1. Inspecting and Cleaning the Knife:
Before sharpening, inspect your knife for any damages, such as cracks or chips. These damages can interfere with the sharpening process and may worsen over time. Once you have inspected the knife, you need to clean it thoroughly to remove any dirt or debris that might be present on the blade.
2. Selecting the Right Sandpaper:
Grit Selecting the correct sandpaper grit is crucial to achieving the desired sharpness. If you have a dull knife, start with a coarser grit (around 120-220) for initial grinding. If your knife is already relatively sharp, you can start with a finer grit (around 400-600) for honing and polishing.
3. Attaching Sandpaper to the Belt Sander:
Attaching sandpaper to the belt sander is an important step that requires attention to detail to ensure a secure and even attachment. To attach sandpaper, cut a piece slightly larger than your sander’s platen and attach it using the adhesive provided. Smooth out any bubbles or wrinkles to ensure a secure attachment.
4. Adjusting the Belt Sander:
Before you start sharpening, adjust the angle of the plate to match the angle of your knife’s bevel. You will also need to adjust the tension and tracking of the belt to ensure smooth and consistent performance.
Properly preparing the knife and the belt sander will enable you to tackle the sharpening process confidently. Remember, choosing the correct sandpaper grit and attaching it properly to your sander are critical steps in achieving a sharp edge on your knife. Take your time, use the right technique, and with some practice, you can sharpen a knife with a belt sander like a pro.
Sharpening the knife with a belt sander:
Sharpening a knife with a belt sander is a skill that takes some practice, but it’s well worth the effort to achieve a razor-sharp edge. Here are the key subheadings you need to know to sharpen your knife with a belt sander.
1. Positioning the Knife and the Belt Sander:
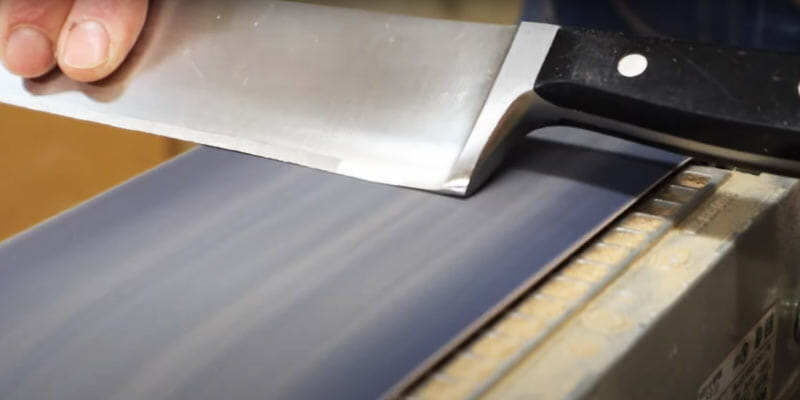
When sharpening a knife with a belt sander, you must position the knife at the correct angle against the belt. The angle will depend on the type of knife and the desired sharpness. Generally, a 20-degree angle is suitable for most knives. Use a guide or jig to maintain a consistent angle.
2. Starting with Coarse Grit Sandpaper:
Begin sharpening with coarse grit sandpaper (around 120-220 grit) to remove any nicks or chips and establish a new angle. Hold the knife at the correct angle and apply gentle pressure as you move the blade back and forth across the belt. Be careful not to overheat the blade by holding it against the belt for too long.
3. Progressing to Finer Grit Sandpaper:
After you have ground out any chips or nicks, move on to finer grit sandpaper (around 400-600 grit) to hone and polish the blade. Use the same technique as before, holding the knife at the correct angle and applying gentle pressure as you move the blade back and forth across the belt. Check the blade periodically to ensure that you are achieving the desired sharpness.
4. Repeating the Process on the Other Side of the Blade:
After sharpening one side of the blade, repeat the process on the other side to achieve an even edge. Be sure to maintain the same angle on both sides.
5. Finishing with a Leather Strop:
To finish the sharpening process, you can use a leather strop to hone further and polish the blade. Apply a small amount of honing compound to the strop and use a back-and-forth motion to drag the blade across the leather. This will help remove any burrs and achieve an extra-sharp edge.
Sharpening a knife with a belt sander can be a rewarding experience. By following these steps and using the proper technique, you’ll be able to achieve a razor-sharp edge on your knife. Remember, take your time, use the correct grit sandpaper, and always maintain the correct angle for the best results.
Perfecting Your Blade: Fine-Tuning the Knife for Ultimate Sharpness
Fine-tuning the knife is the final step in the knife sharpening process. Here are the key subheadings you need to know to fine-tune your knife after sharpening with a belt sander.
Inspecting the Blade After you’ve finished sharpening the knife with a belt sander, it’s essential to inspect the blade carefully for any imperfections or burrs that may be present. Run your fingers gently along the blade to feel for any rough spots or nicks.

1. Removing Burrs:
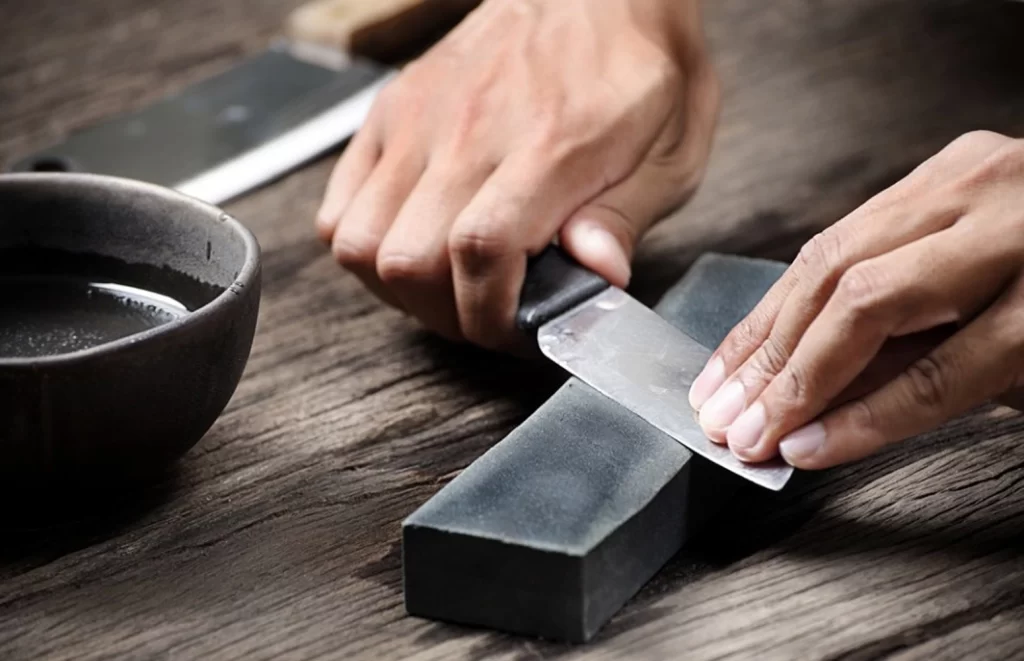
If you feel any burrs or rough spots, you can remove them by gently running the blade over a honing rod or ceramic sharpening stone. Be sure to use a consistent angle and apply light pressure. Check the blade periodically to ensure that you are achieving the desired results.
2. Testing the Sharpness:
Once you’ve removed any burrs or rough spots, it’s time to test the sharpness of the blade. You can do this by carefully slicing through a piece of paper or shaving a small amount of hair from your arm. If the knife is sharp, it should easily cut through the paper or hair.
3. Using the Knife:
Finally, it’s time to use your newly sharpened and fine-tuned knife. Whether you’re slicing through vegetables or meat, you should notice a significant improvement in the knife’s performance. Use proper cutting techniques and keep your knife sharp by maintaining it regularly.
Fine-tuning the knife is an important step in the knife sharpening process. You’ll achieve the best possible results by following these steps and taking the time to inspect, remove burrs, test the sharpness, and use the knife properly.
Remember to use a consistent angle and light pressure, and always maintain the correct sharpness for the task.
Safety precautions to consider:
Sharpening a knife with a belt sander can be dangerous if proper safety precautions are not taken. Here are some essential subheadings to consider when sharpening a knife with a belt sander to ensure safety.

1. Wear Protective Gear:
Before you start sharpening a knife with a belt sander, it’s crucial to wear the necessary protective gear to prevent any potential injuries. This includes gloves, eye protection, and ear protection.
2. Secure the Blade:
To avoid any accidents, it’s essential to firmly secure the knife blade before beginning the sharpening process. This can be done using a clamp or a vise to hold the knife blade in place securely.
3. Use the Right Grit:
When sharpening a knife with a belt sander, using the correct grit for the task at hand is essential. Starting with a coarse grit and working to a finer one will ensure you achieve the desired sharpness while maintaining control over the blade.
4. Maintain Control:
Maintaining control of the knife and the belt sander is crucial to prevent potential accidents. Hold the knife firmly and keep your hands away from the moving parts of the sander.
5. Work in a Safe Area:
Make sure you work in a safe area with plenty of space and good lighting. Keep children and pets away from the area, and avoid working near flammable materials.
In summary, sharpening a knife with a belt sander requires safety precautions to avoid potential accidents. By wearing protective gear, securing the blade, using the right grit, maintaining control, and working in a safe area, you can minimize the risk of injury and ensure a successful sharpening process.
FAQs:
Here are five frequently asked questions about sharpening a knife with a belt sander:
Is it safe to sharpen a knife with a belt sander?
Sharpening a knife with a belt sander can be dangerous if proper safety precautions are not taken. However, by wearing protective gear, securing the blade, and working in a safe area, you can minimize the risk of injury.
What type of sandpaper should I use for sharpening my knife with a belt sander?
The type of sandpaper you use will depend on the type of blade you are sharpening and the level of sharpness you are trying to achieve. Generally, a coarse grit sandpaper is used to remove any nicks or chips in the blade, and a finer grit sandpaper is used for honing and polishing the edge.
How do I know when my knife is sharp enough?
One way to test the sharpness of your knife is by slicing through a piece of paper. If the blade cuts through the paper smoothly and cleanly, then it is likely sharp enough.
How often should I sharpen my knife with a belt sander?
The frequency of sharpening will depend on how often you use the knife and the type of tasks it is used for. As a general rule, it’s best to sharpen your knife when you notice it’s becoming dull.
Can I sharpen any type of knife with a belt sander?
A belt sander can be used to sharpen most types of knives, including chef knives, hunting knives, and pocket knives. However, it’s important to use the correct grit and take necessary precautions to avoid damaging the blade.
Conclusion:
In conclusion, sharpening a knife with a belt sander can quickly and efficiently achieve a razor-sharp edge. However, it is important to take proper safety precautions, prepare both the knife and the belt sander, and fine-tune the blade as needed.
Following the steps outlined in this guide and considering the frequently asked questions and safety tips, anyone can successfully sharpen a knife with a belt sander and unleash their inner bladesmith. Always handle the blade carefully and cautiously, and test the sharpness before using it for any task.

Why Trust About Sanders?
When it comes to the world of sanding and sanders, you need a trusted source of information and guidance to ensure you achieve those perfect finishes. That's where I come in – I'm Martin, a dedicated sanding enthusiast with a relentless passion for attaining flawless surfaces. With years of hands-on experience in the sanding industry, I've honed my skills and expertise to provide you with the most reliable and accurate insights. What sets me apart is my commitment to excellence. I meticulously handpick each sander after rigorous testing, ensuring that only the best tools make it to your hands. My goal is to empower you with the knowledge and recommendations you need to tackle any sanding task confidently. When you trust About Sanders, you're putting your faith in a seasoned expert who shares your passion for perfection and strives to deliver top-notch information and reviews for every sanding challenge.

